Tutorial: Your first interference pattern
Learning-oriented. Follow along start to finish — by the end you will have seen interference with your own eyes. About 30 minutes.
In this tutorial you'll build a Michelson interferometer and watch two beams of light combine into a pattern of bright and dark rings. You'll even see light cancel itself into darkness — the clearest proof there is that light travels as a wave.
You don't need to understand the theory first. Just build it and look. (If you get curious afterwards, Interference and diffraction explains what you saw.)
Diagram:
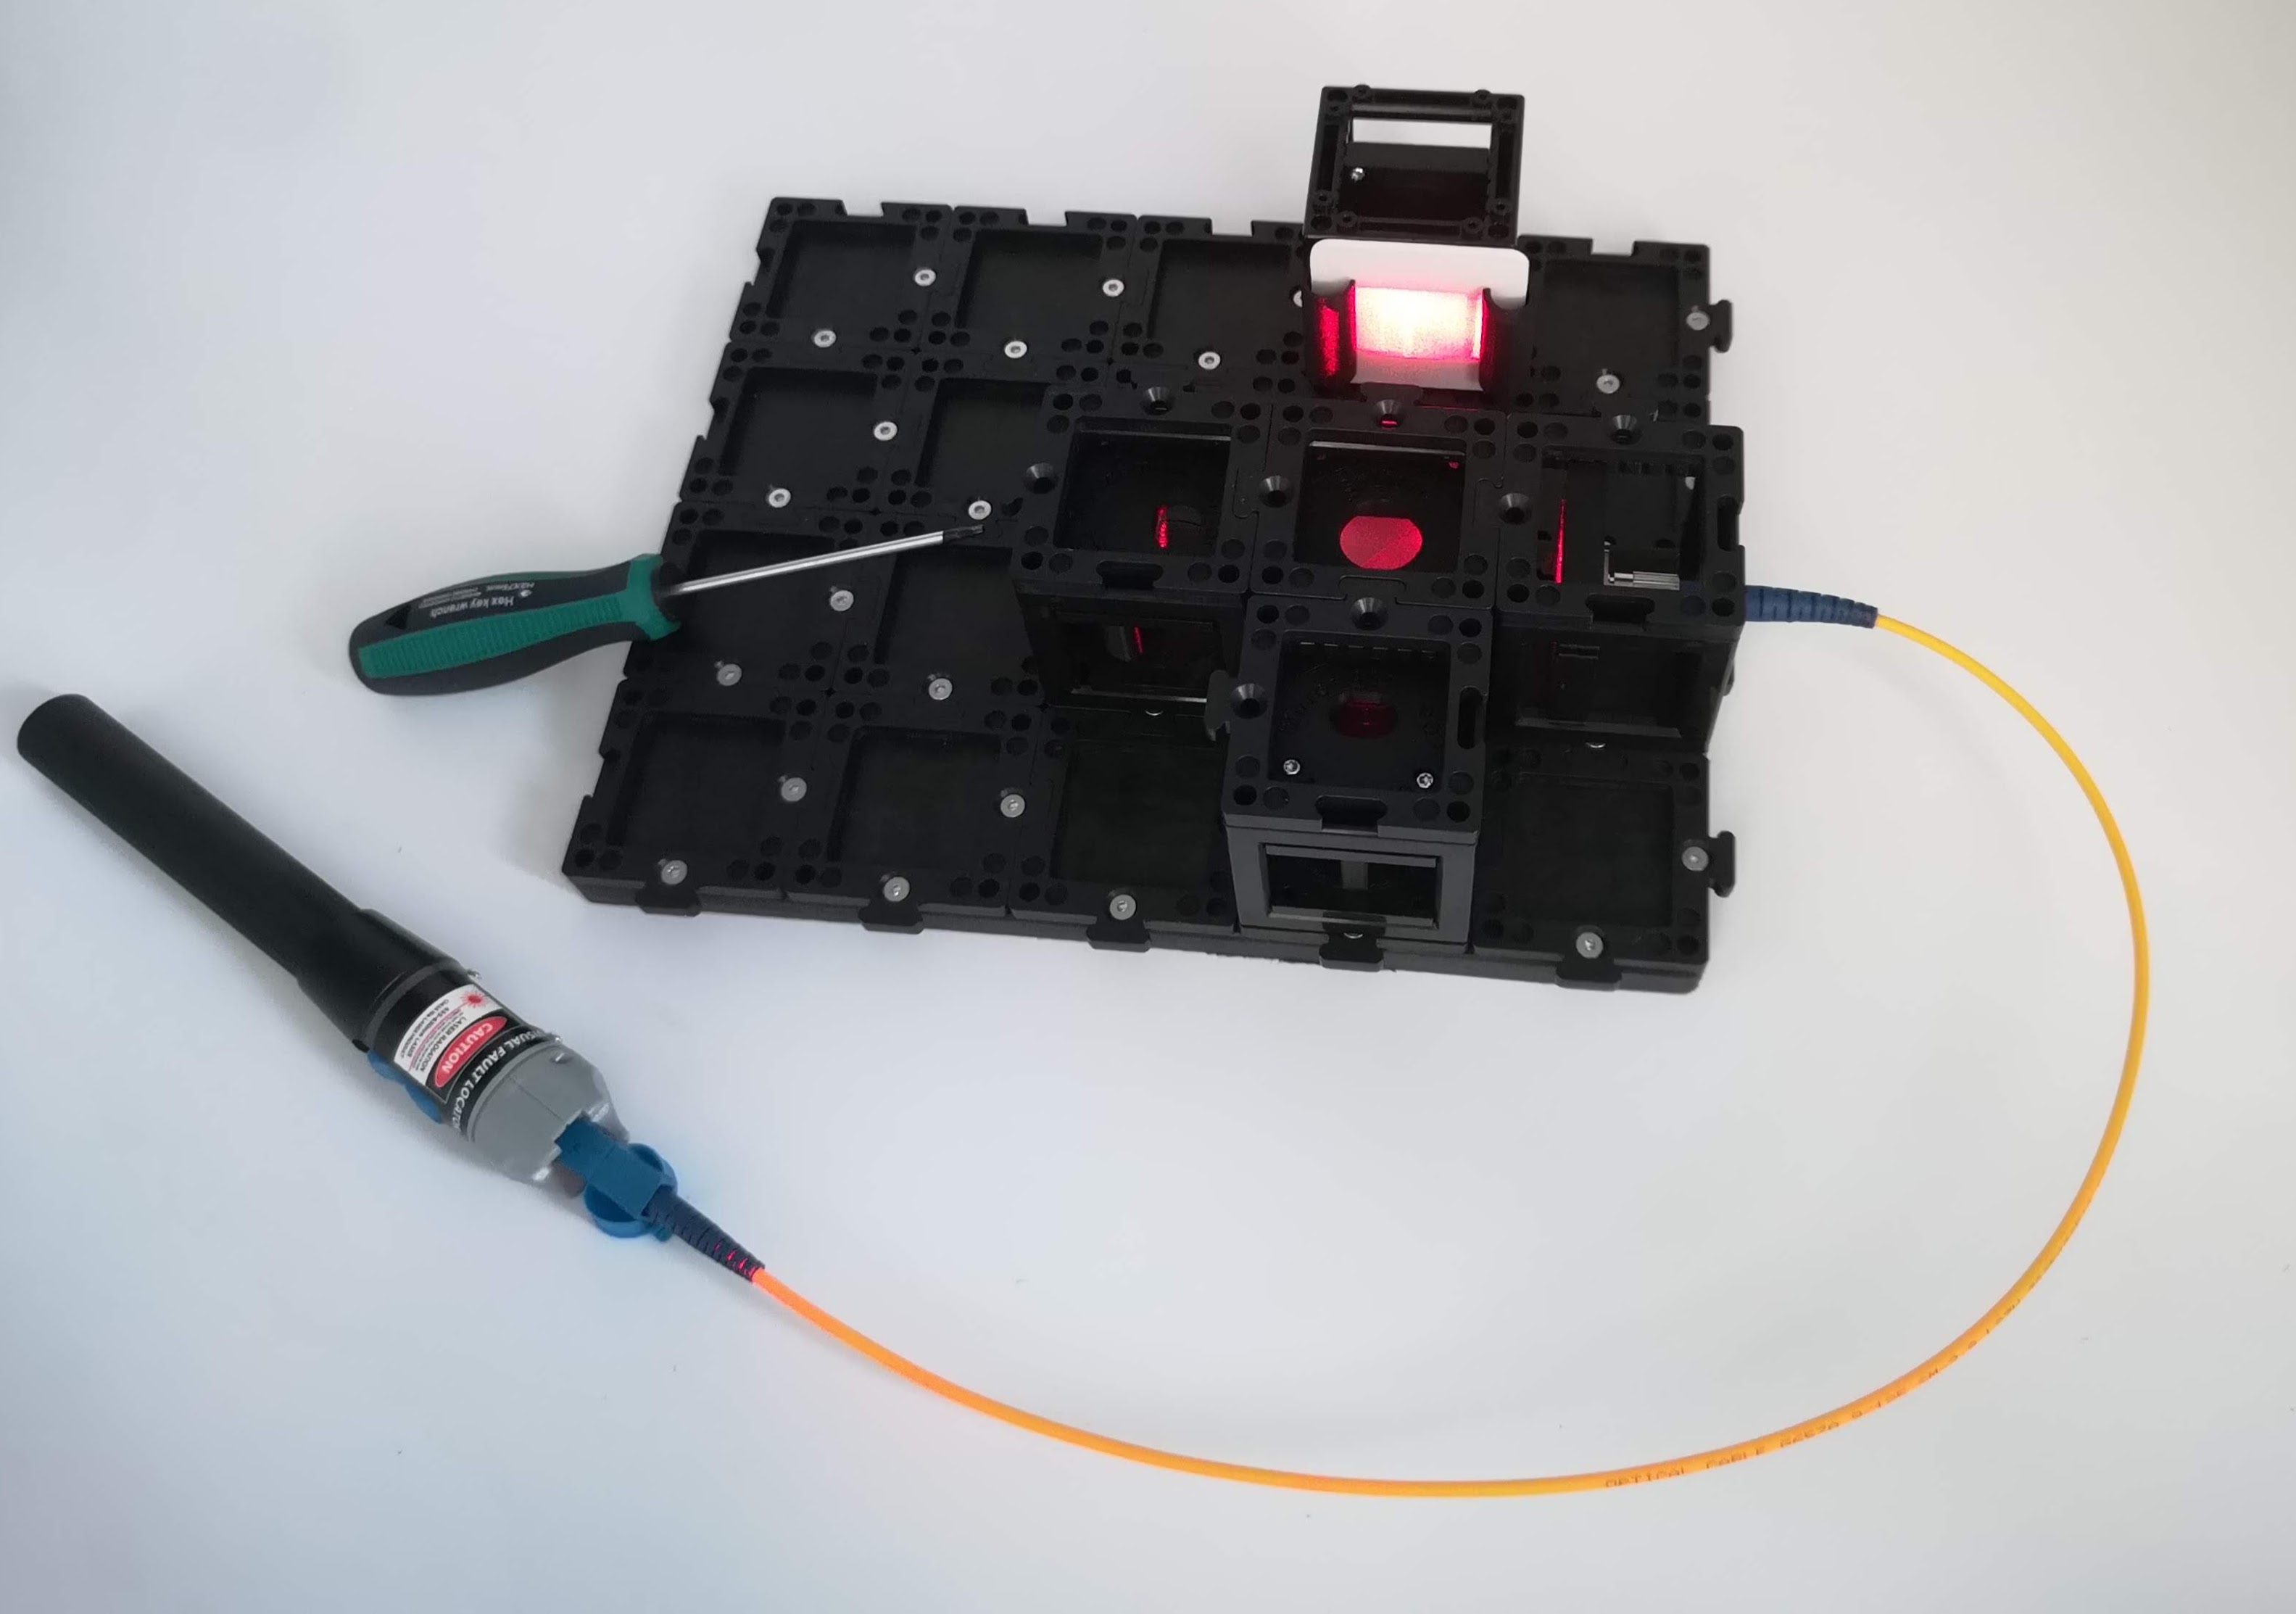
michelson-finished.jpgShow: The finished Michelson interferometer built from openUC2 cubes, with a clear circular fringe pattern visible on the screen. This is the "you'll make this" promise shot.
What you need
From the HoloBox Base Set:
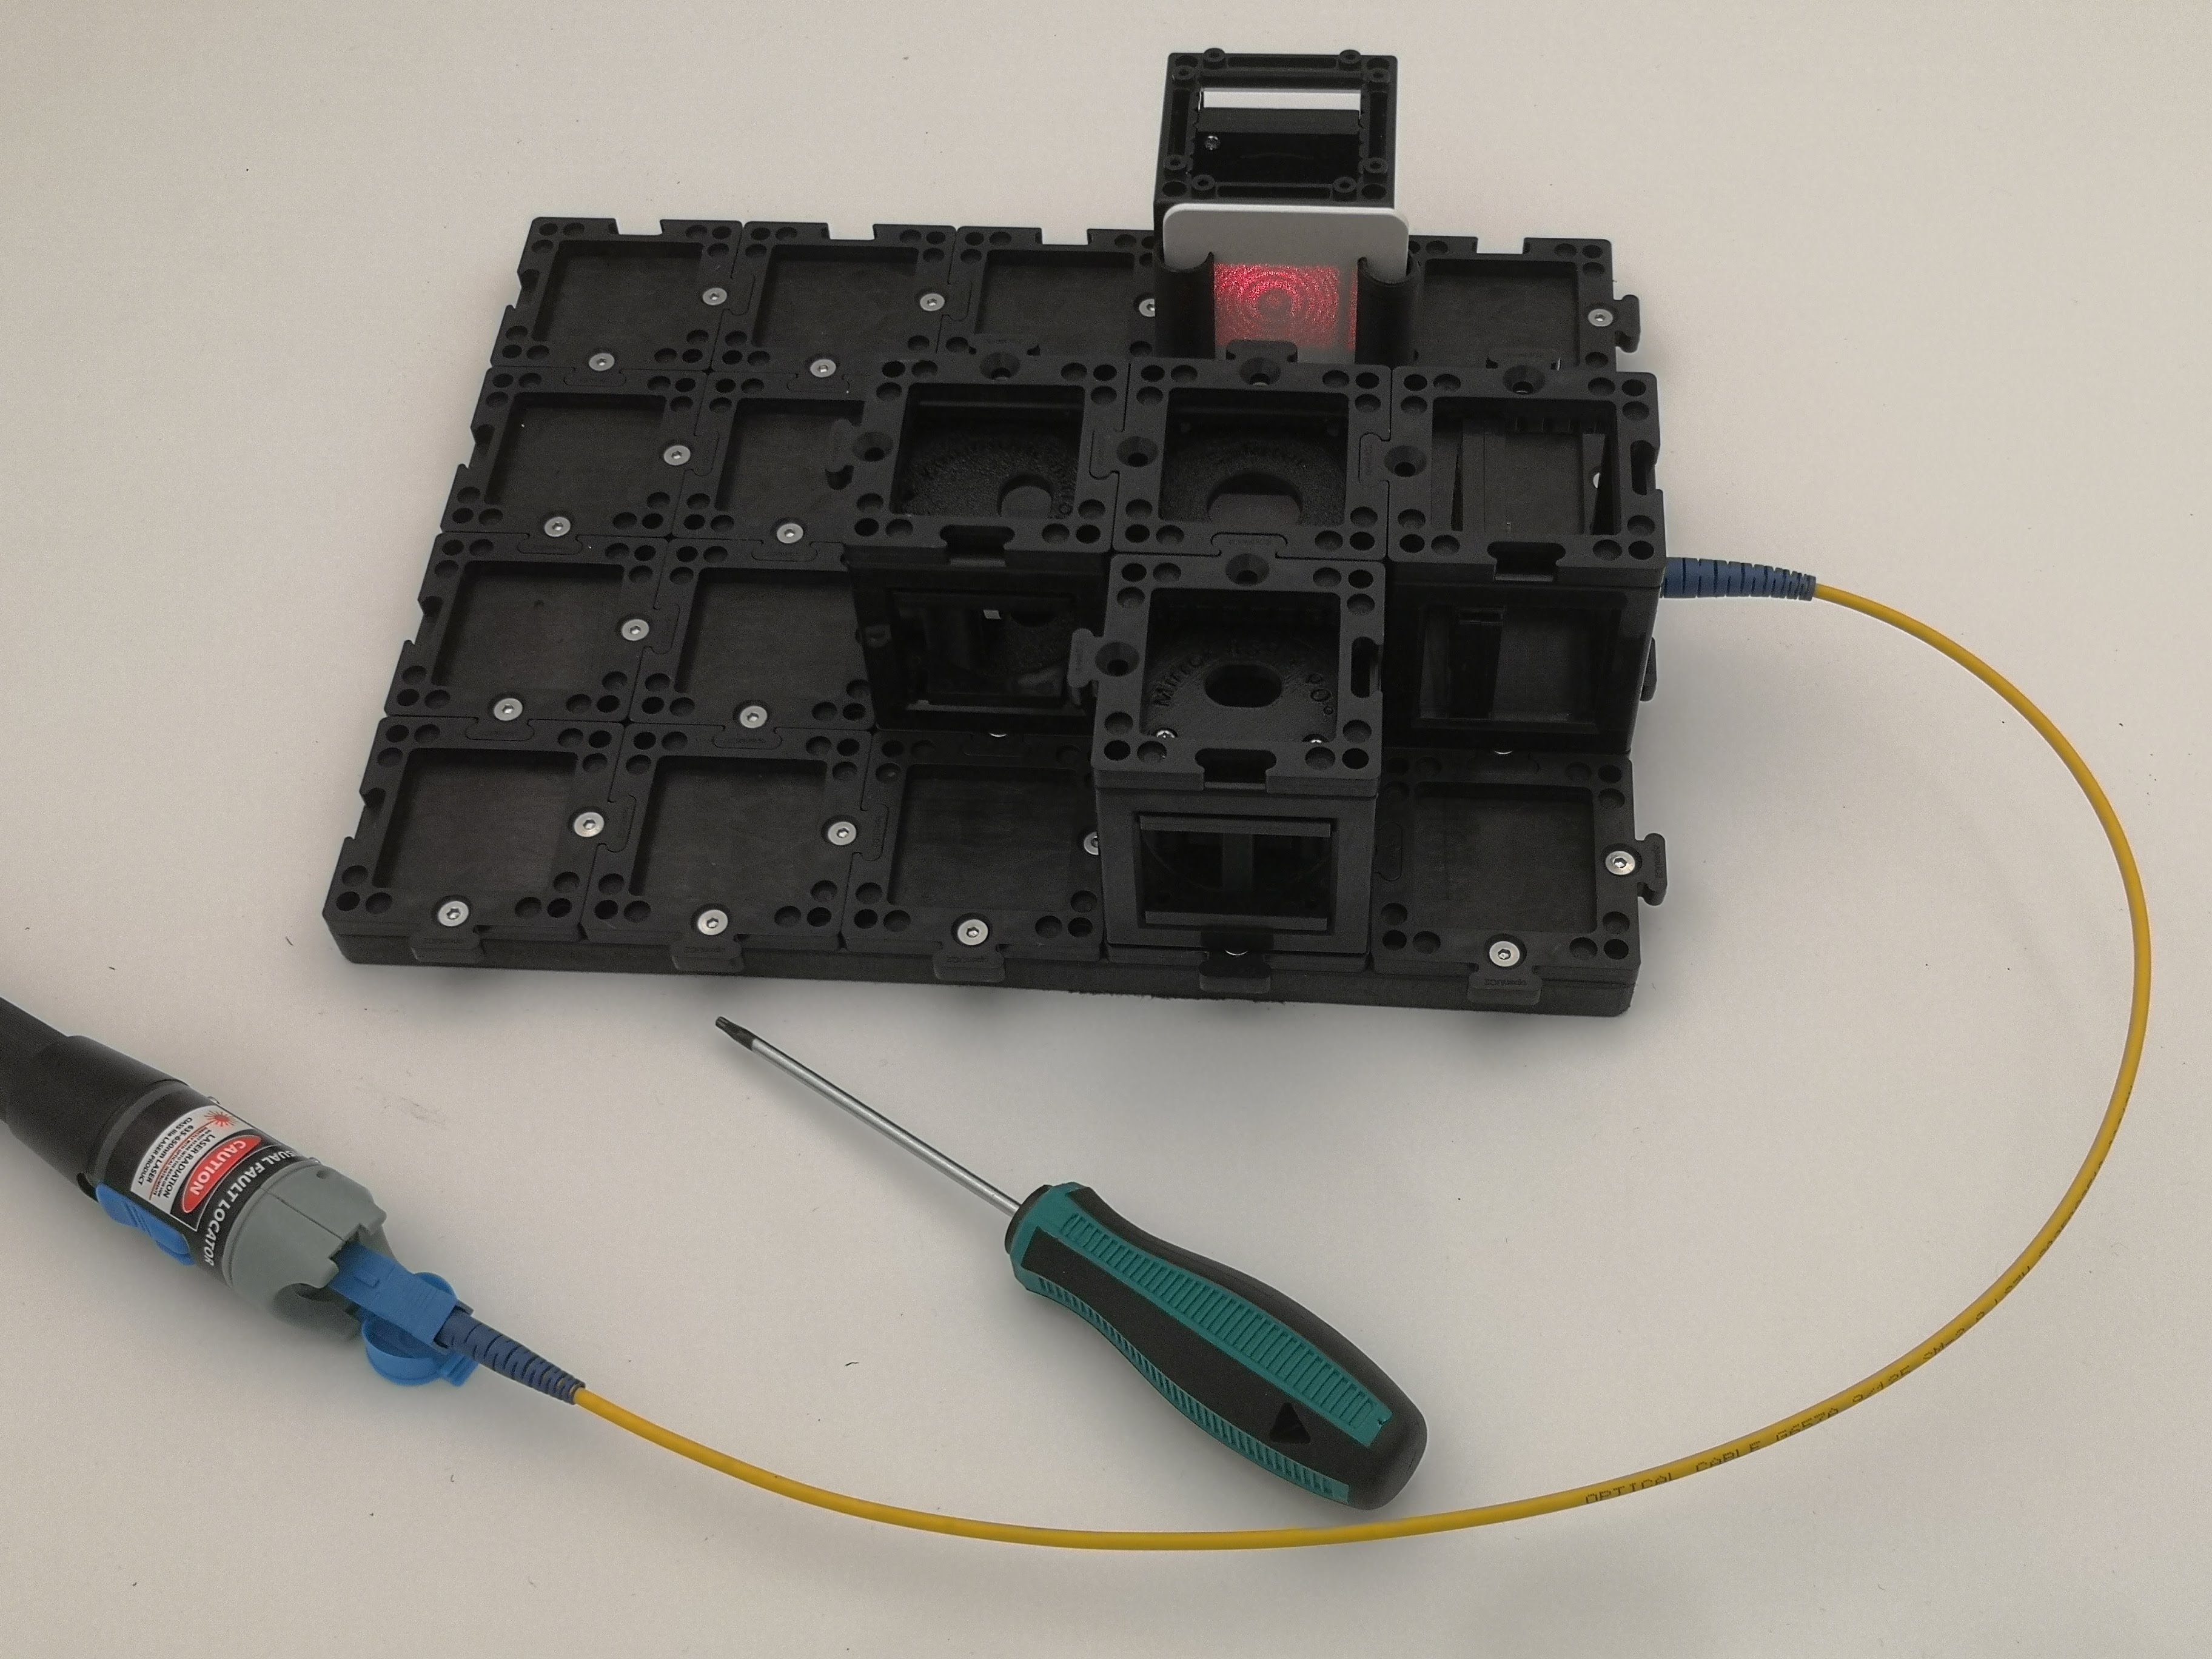 The fully assembled Michelson Interferometer
- red laser module (650 nm) in the form of a fiber tester
- the glass fiber
- the fiber adapter cube (SMA fiber insert)
- Beam-splitter cube
- Two mirror cubes (at least one must be the kinematic / adjustable one)
- A converging lens (optional)
- A screen
- Base plates and puzzle pieces
- The 1.5 mm hex screwdriver
- Never look into the laser beam or its reflections.
- Keep the beam horizontal and below eye level. Sit so your eyes are well above it.
- Take off shiny watches and rings — they make stray reflections.
- A red laser pointer is low power, but treat it with respect.
Step 1 — Lay out the beam splitter and laser
Click the fiber adapter cube and the beam-splitter cube onto base plates so the laser fires straight into the beam splitter. Don't turn the laser on yet. We insert the fiber into the lsaer-based fiber tester.
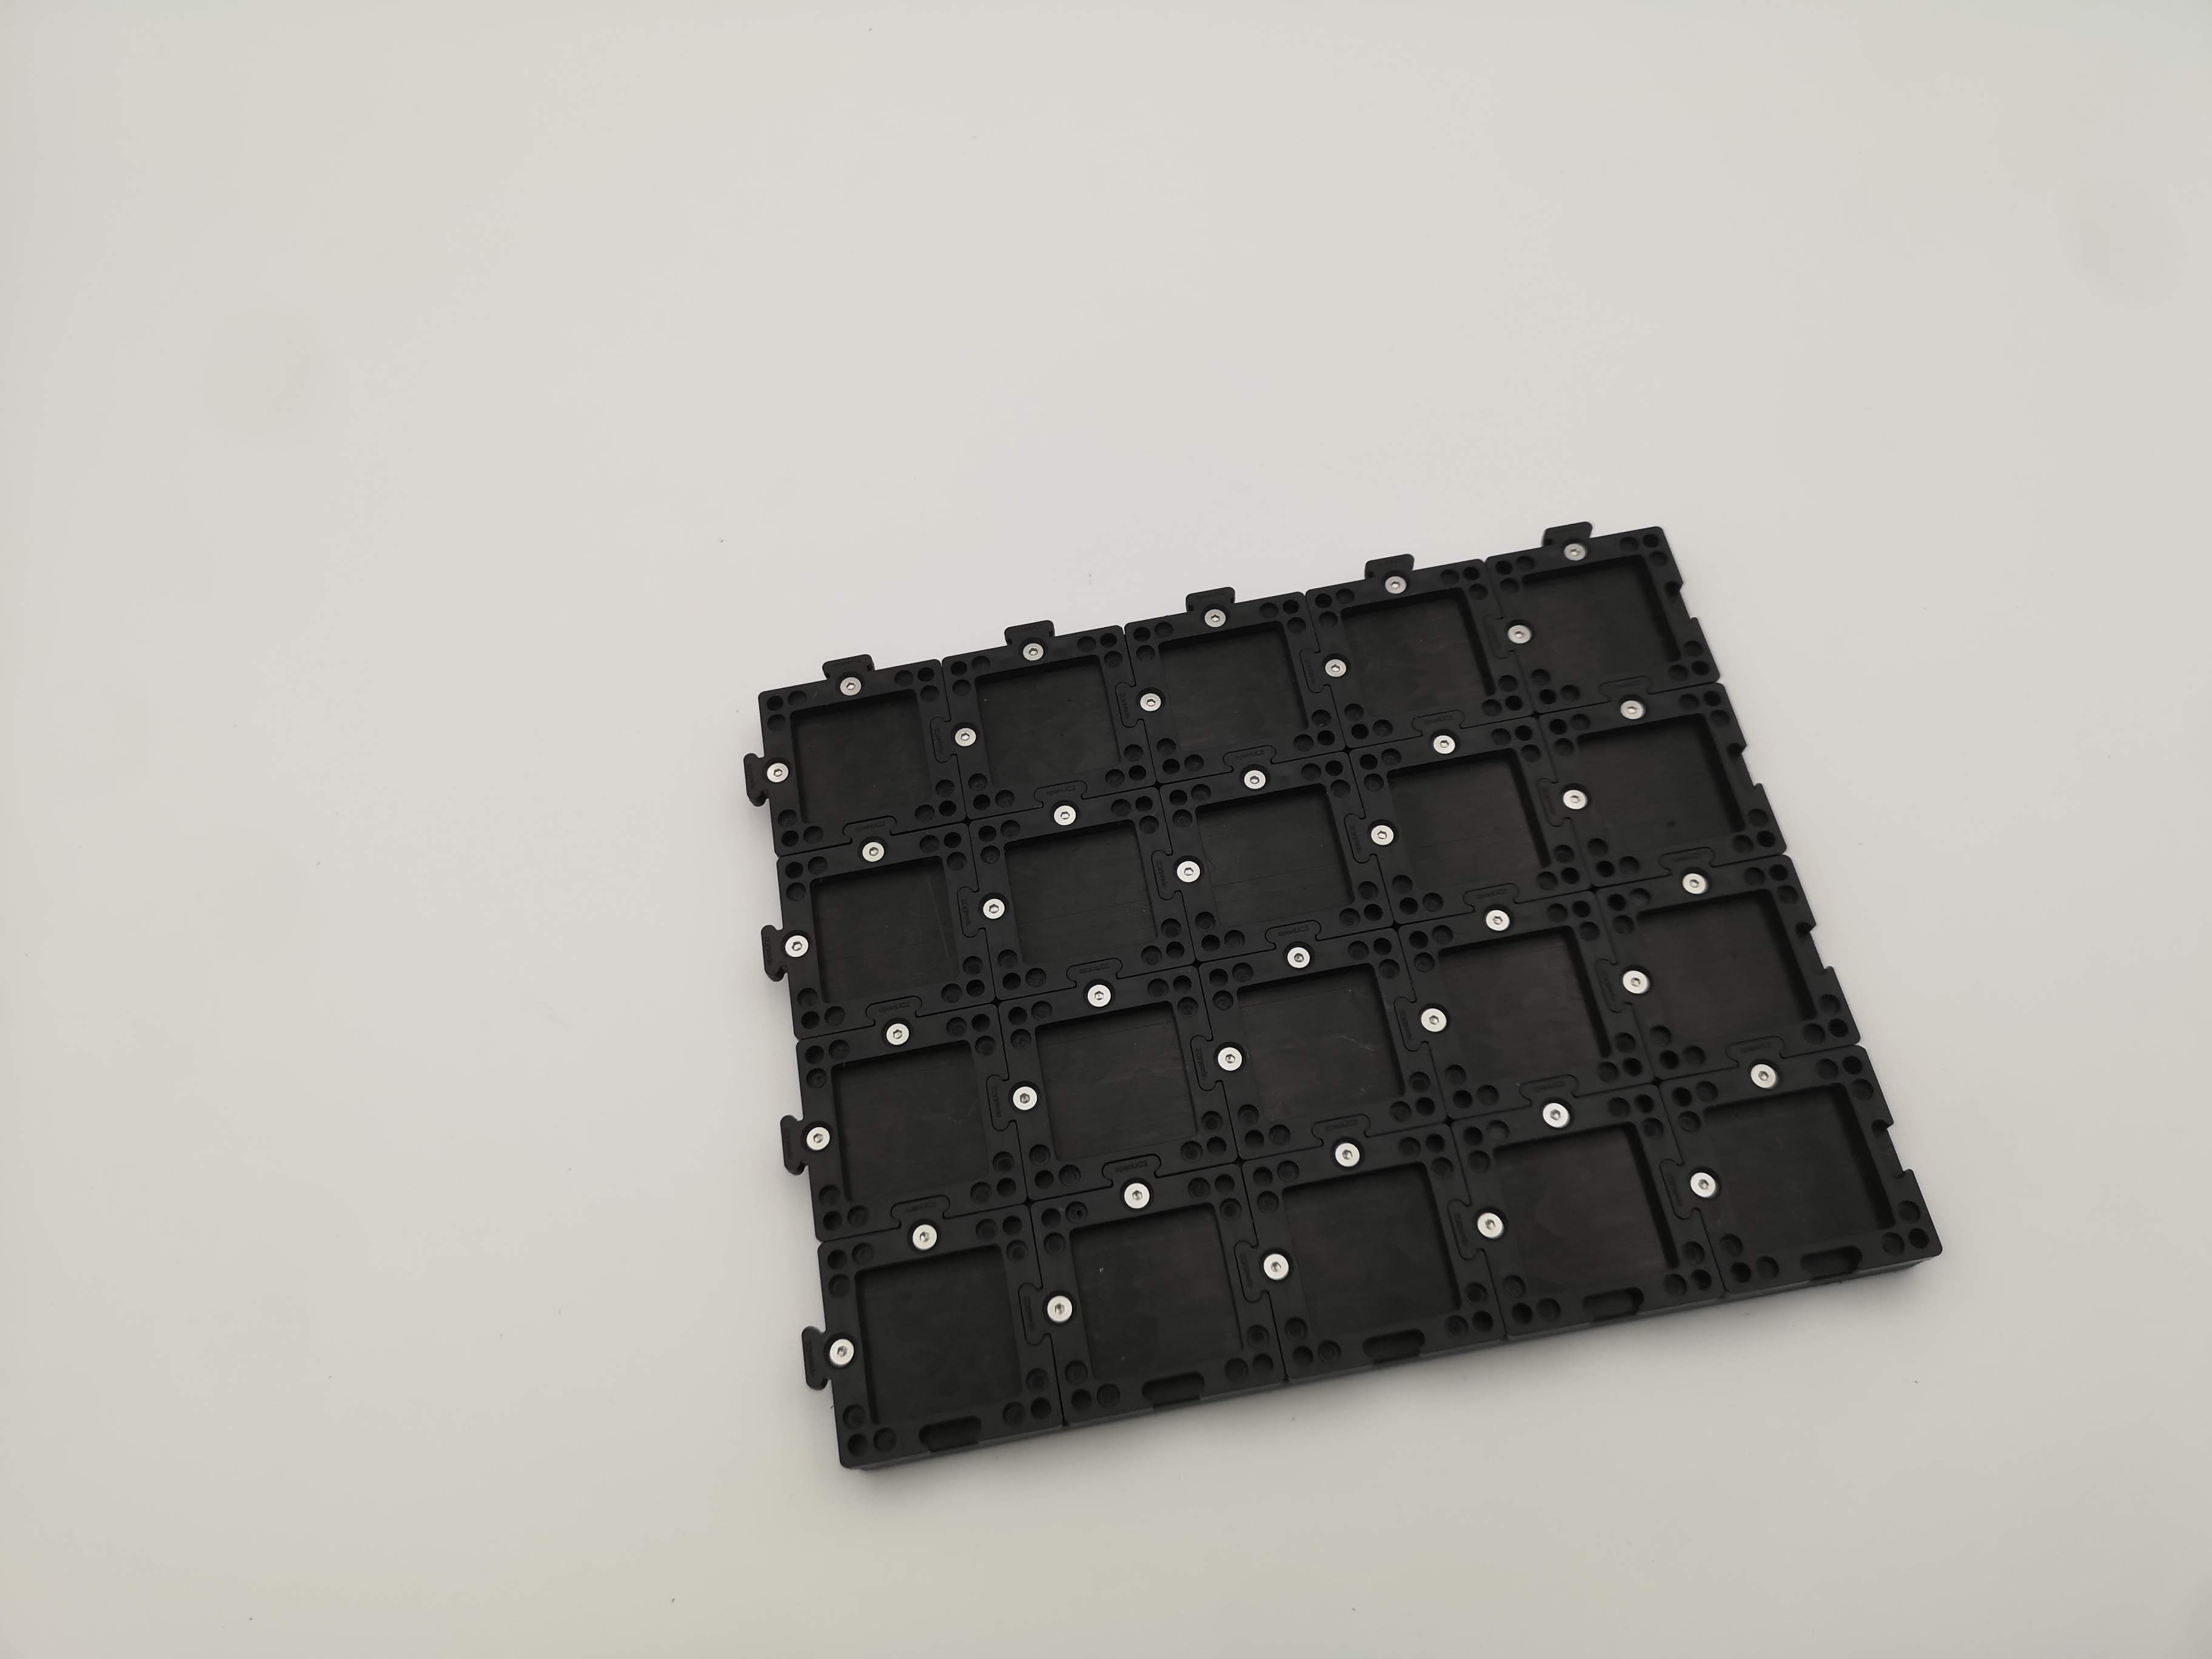 Plate with puzzle pieces to mount cubes
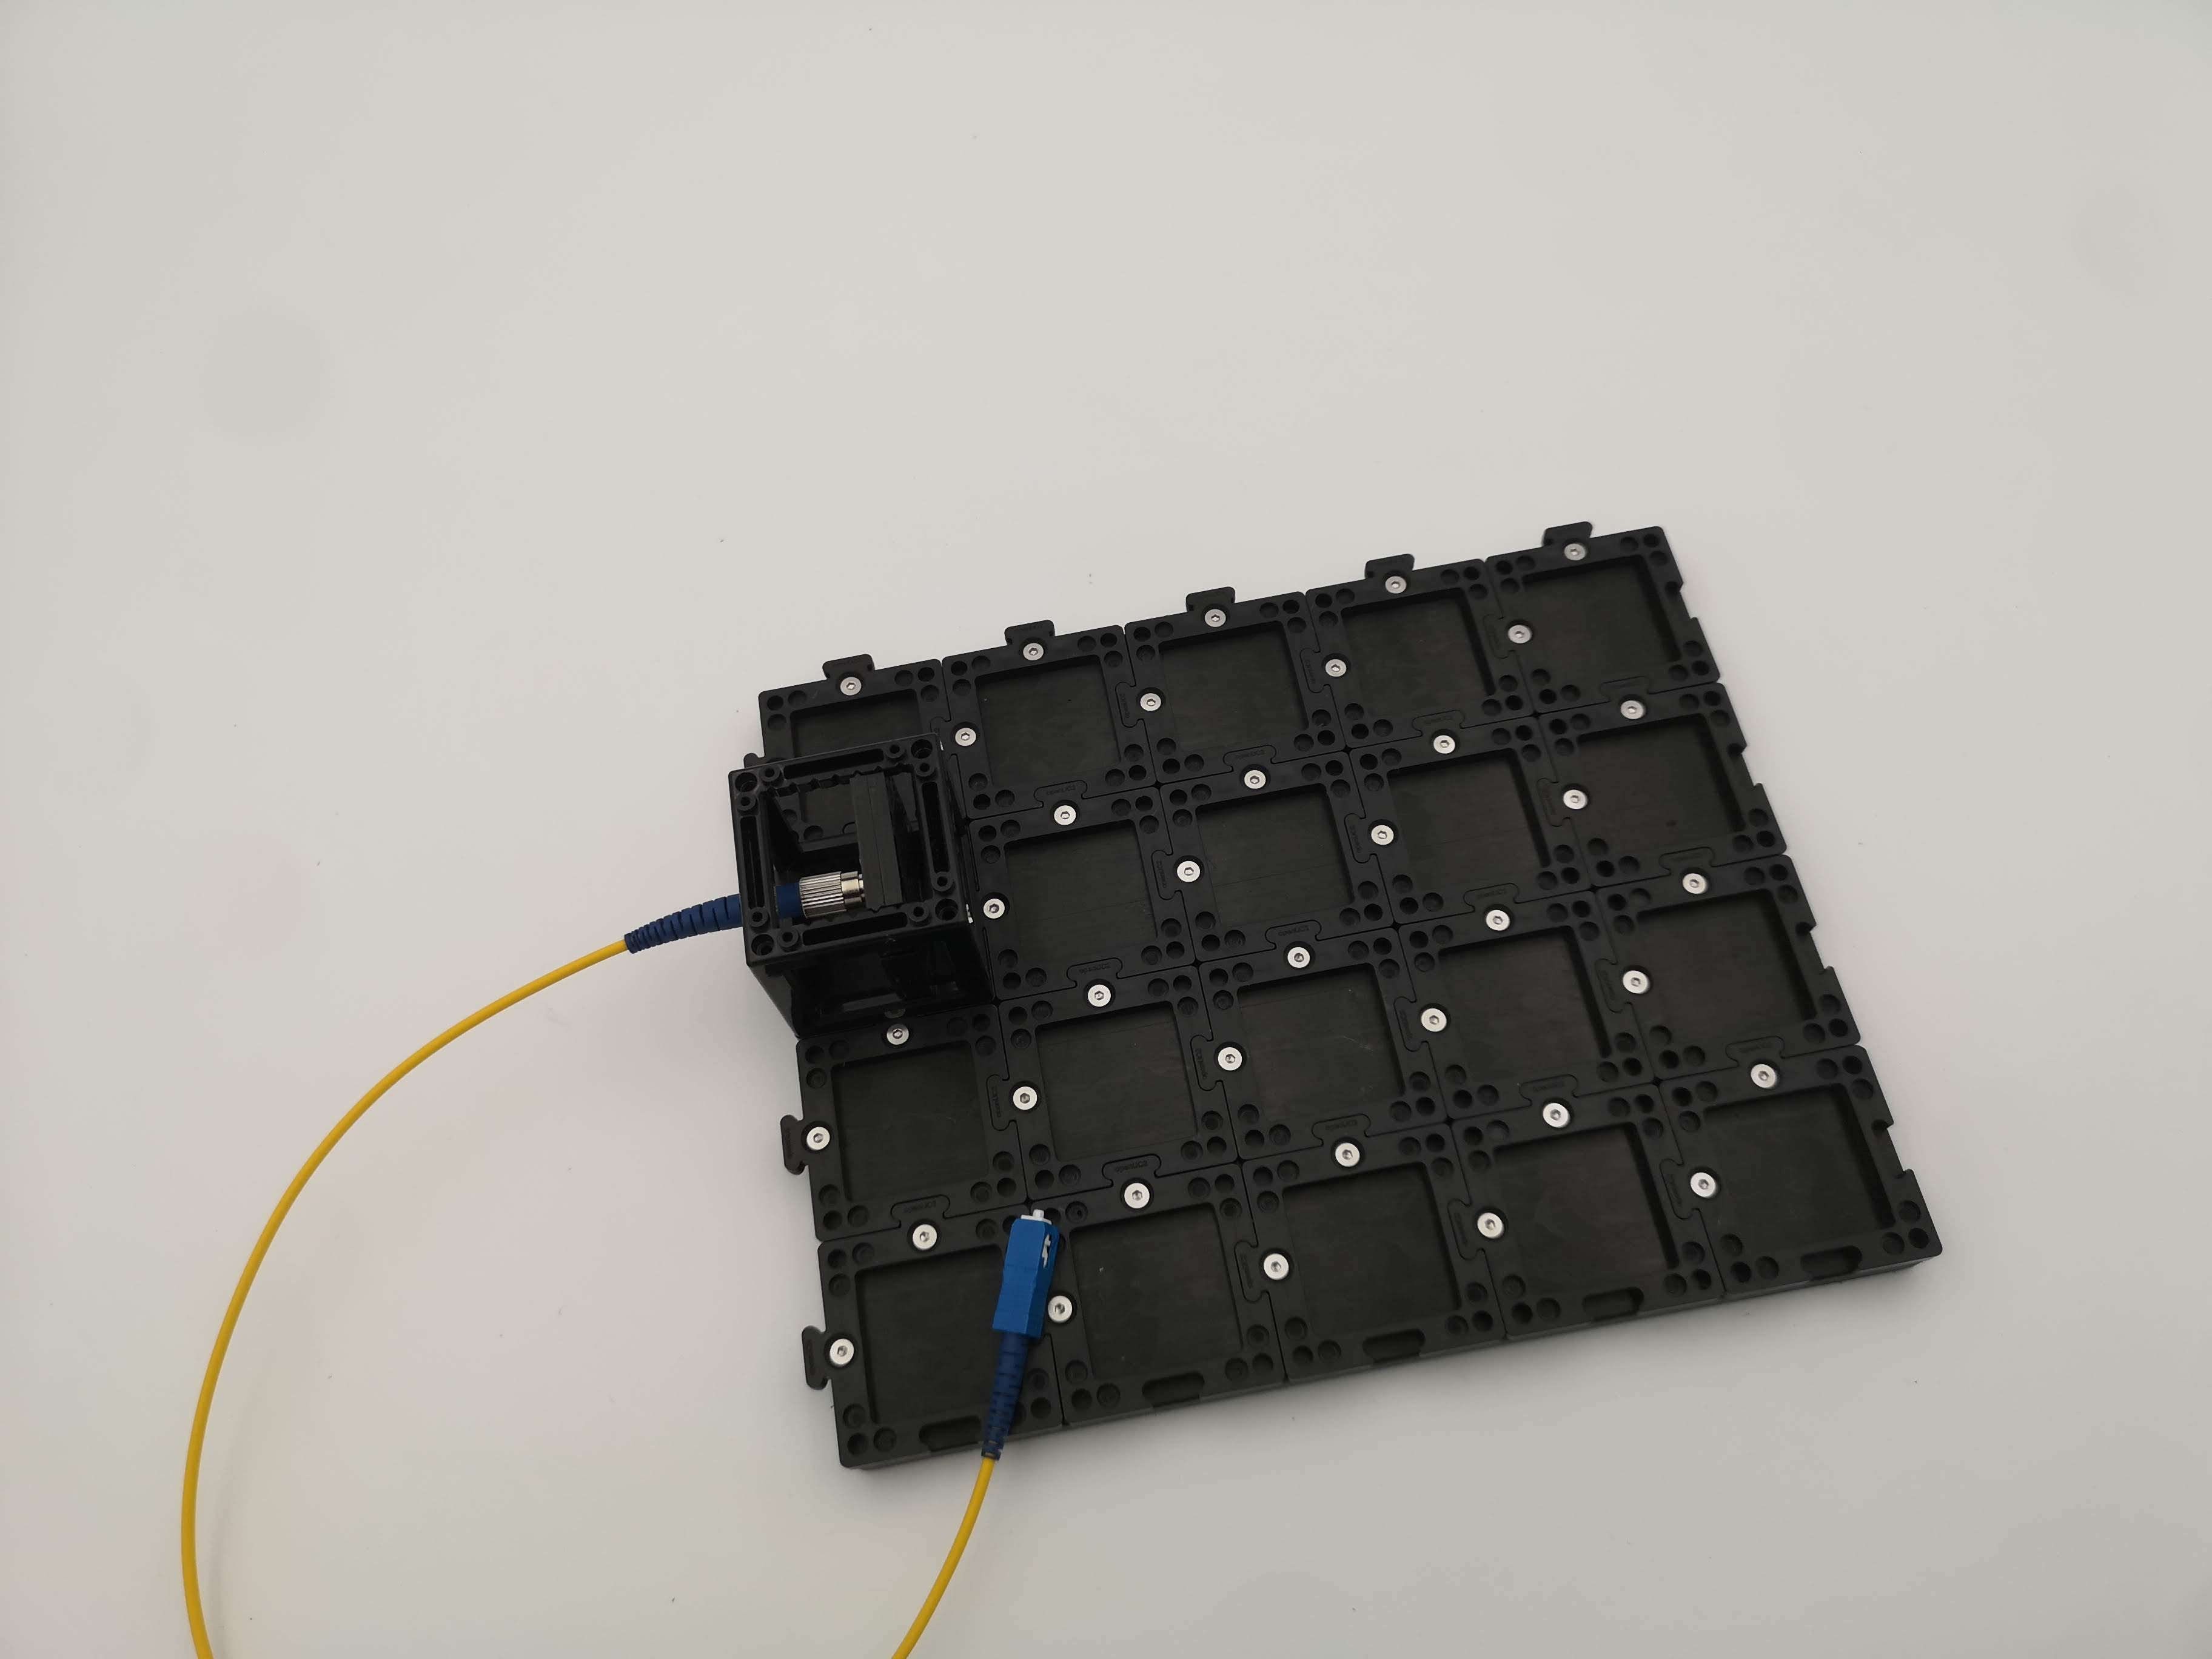 Add the fiber + fiber holder cube to the plate
The beam splitter does exactly what its name says: it splits the incoming beam into two beams that head off at 90° to each other. Later, those two beams will come back and meet again — that meeting is where interference happens.
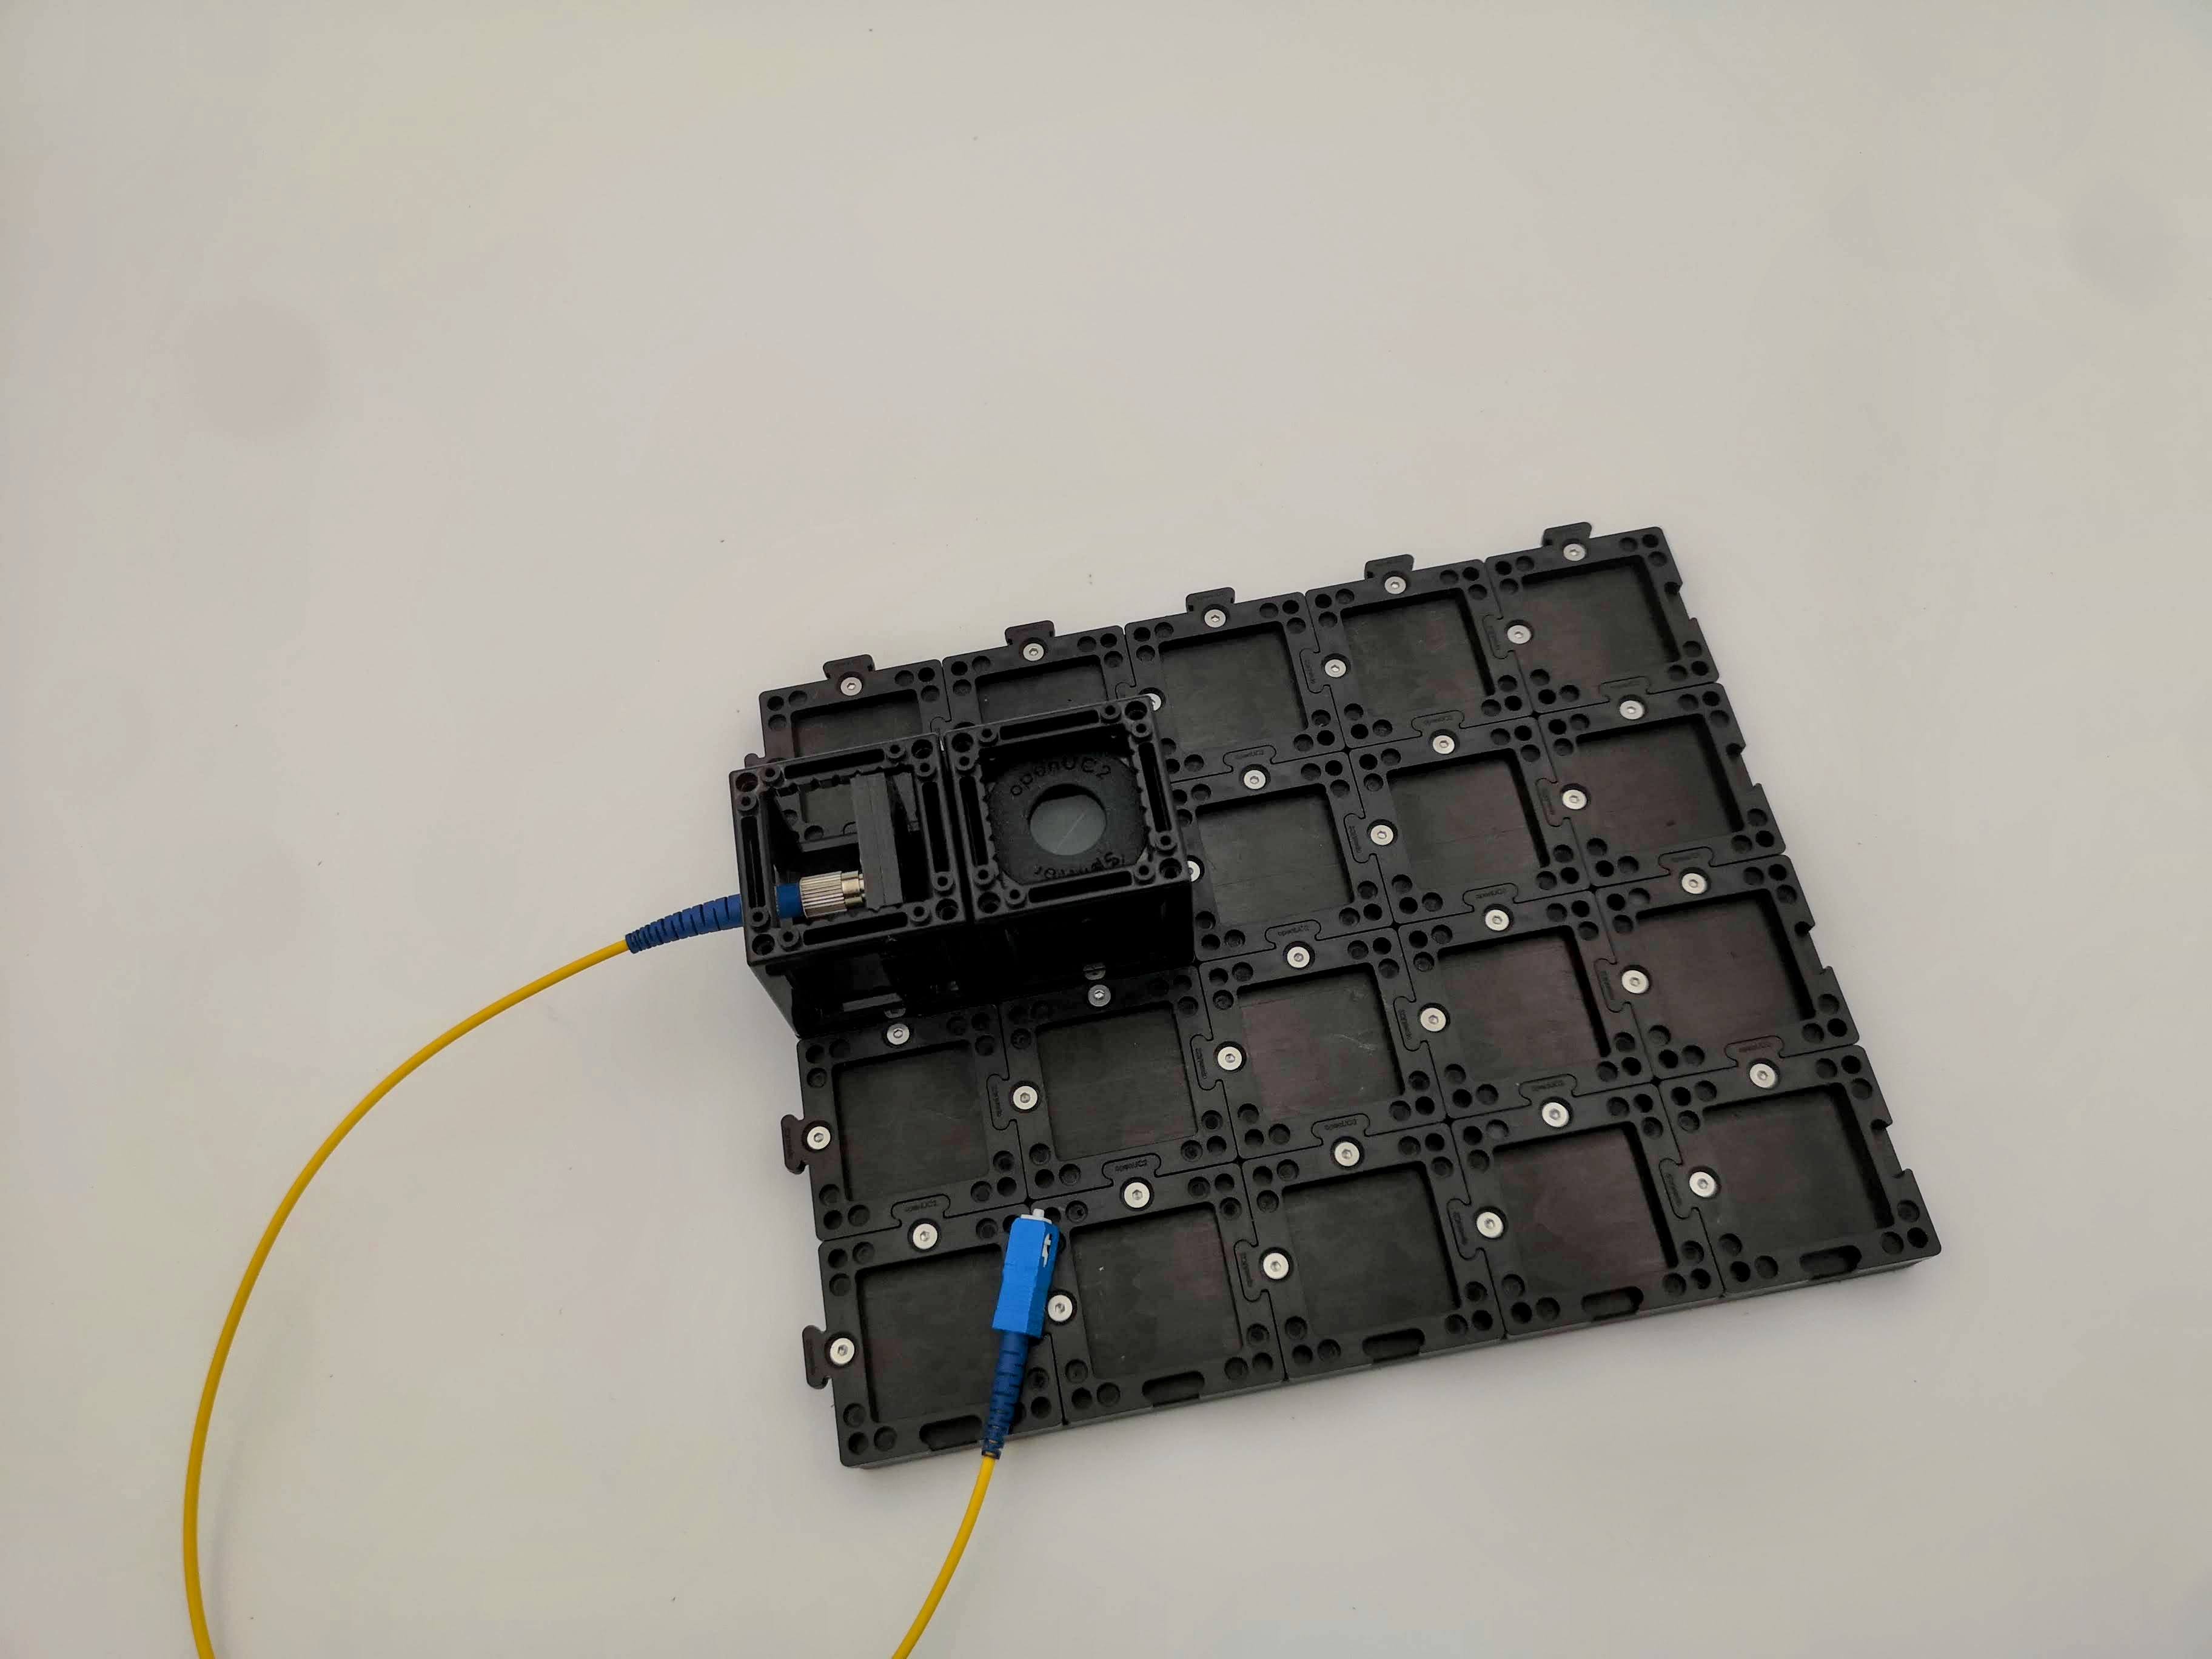 The beam splitter cube will .. well .. split the beam in to two
Step 2 — Add the two mirrors
Place a mirror cube on each of the two beam-splitter outputs — one "straight ahead," one "off to the side." Make sure the adjustable (kinematic) mirror is one of them; its screws are how you'll fine-tune the pattern later.
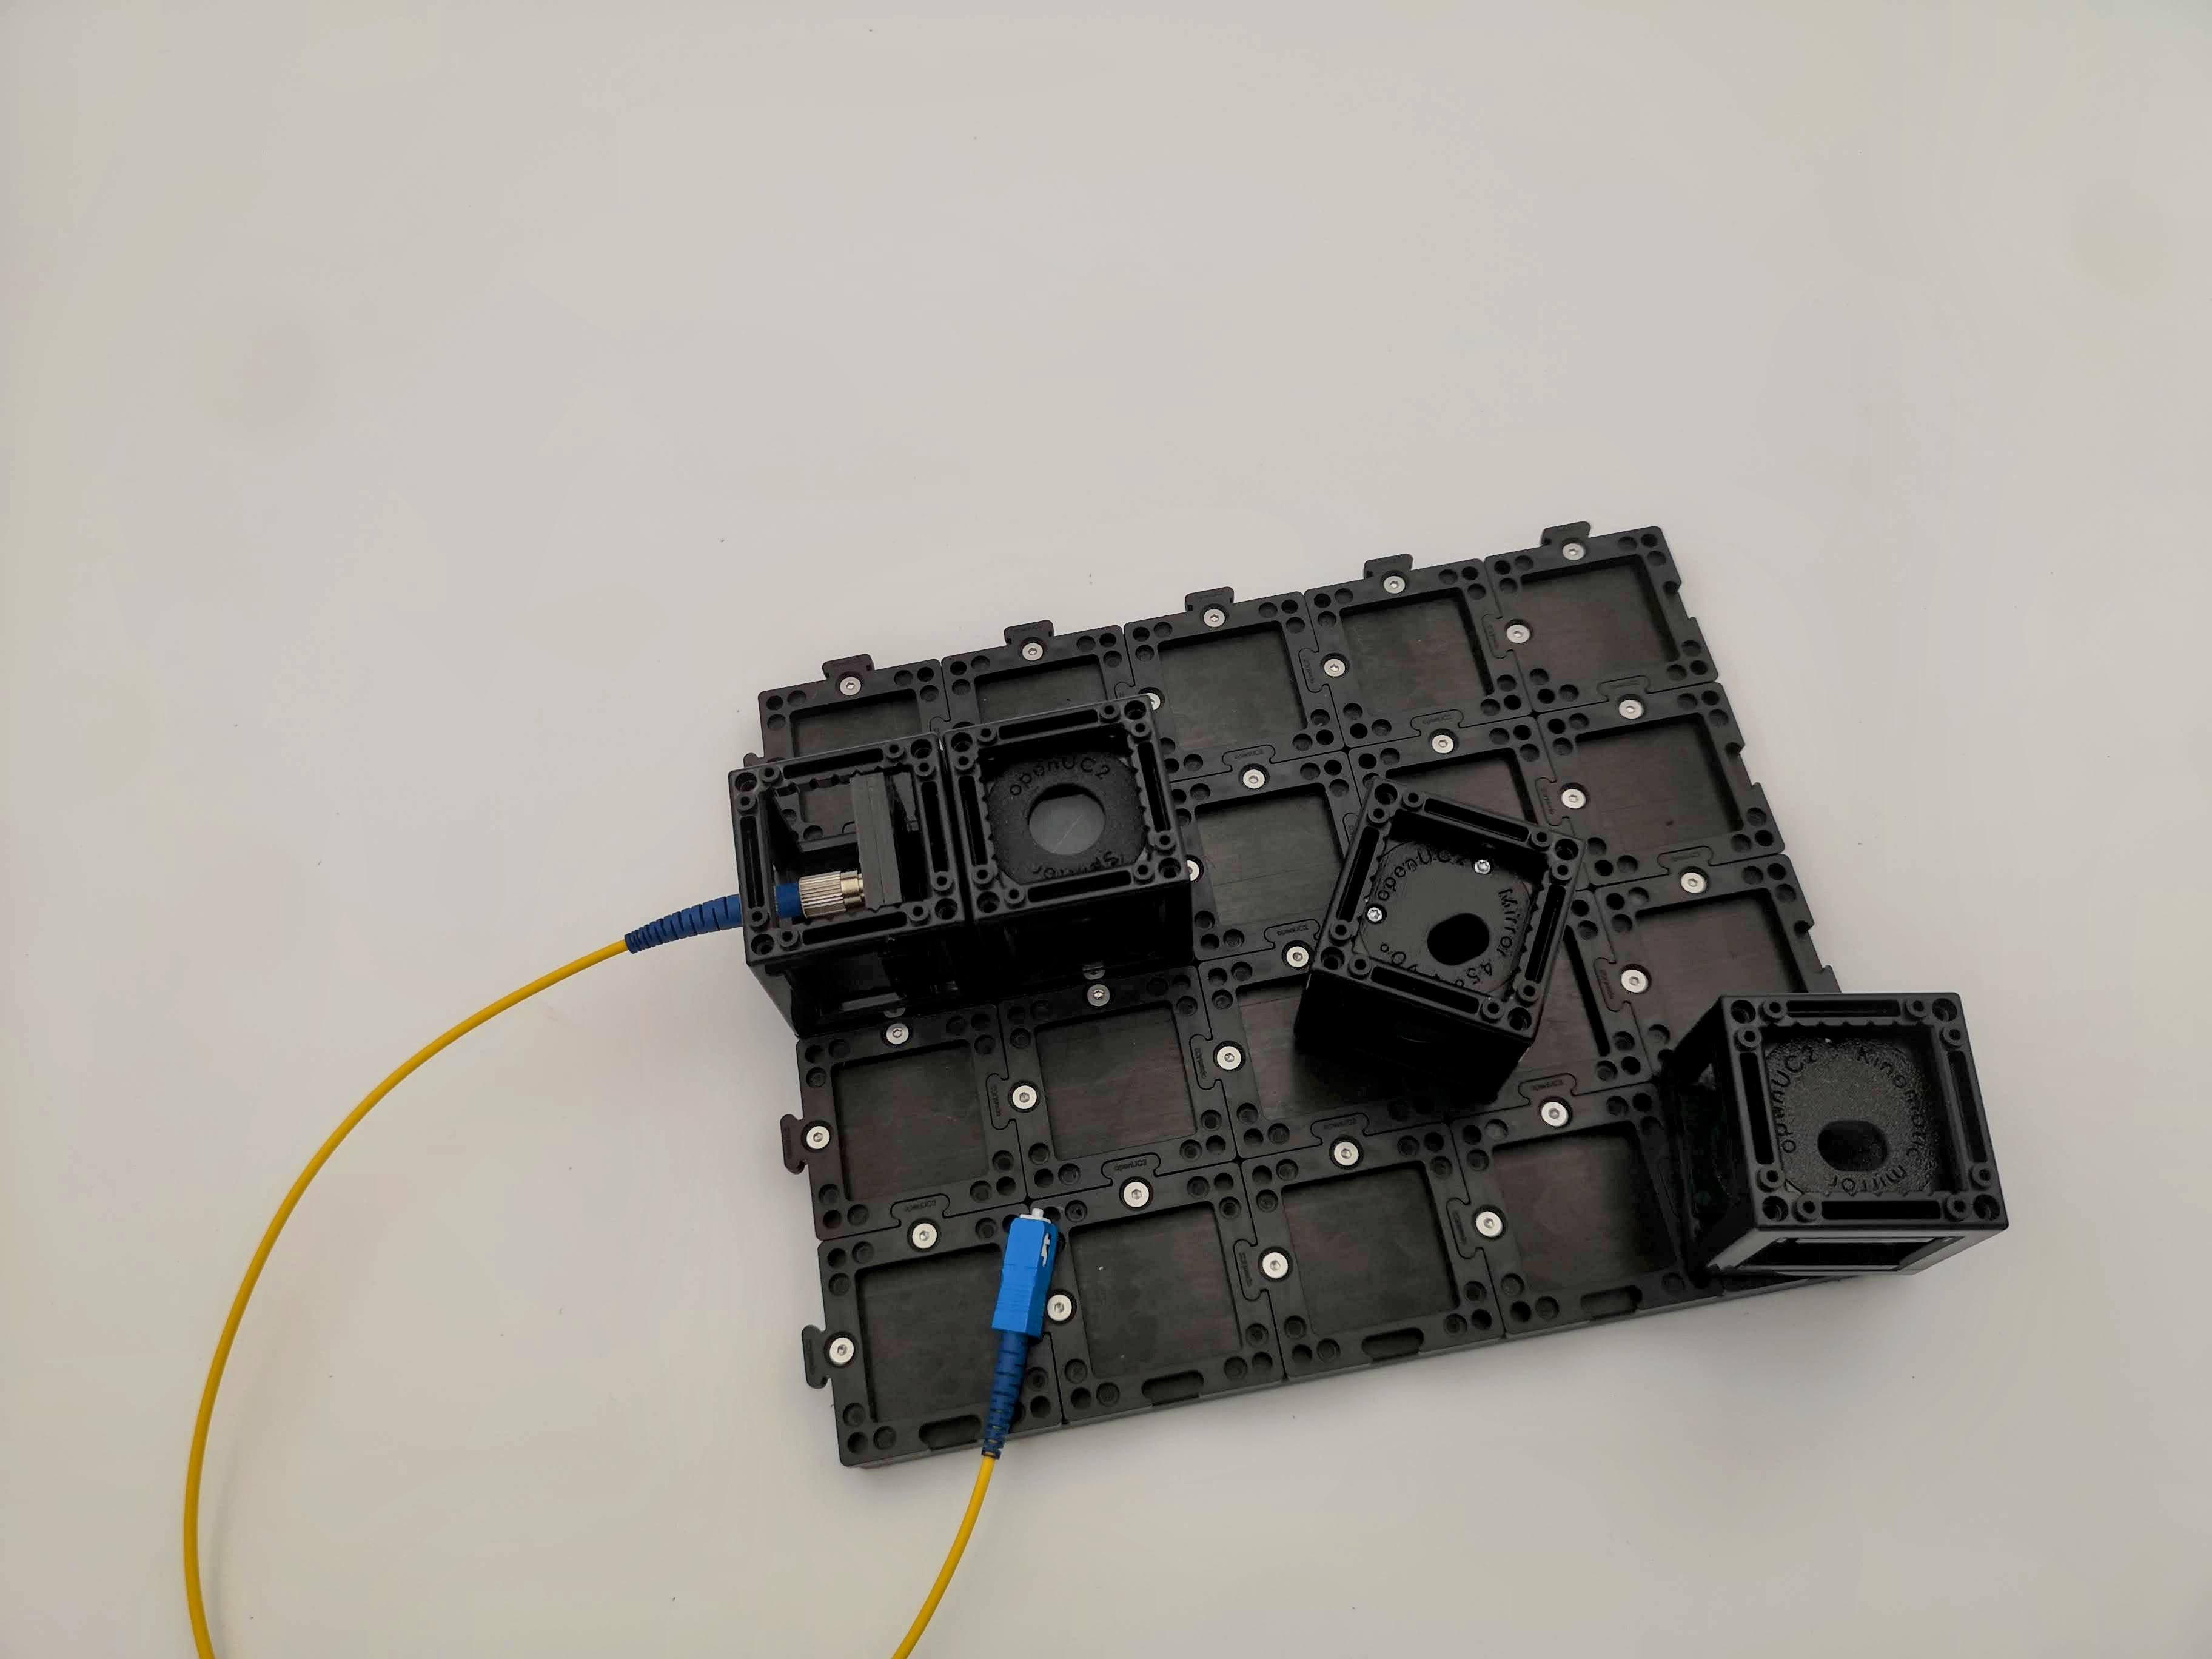 Two mirrors - maybe they are oriented at 90° or 45°
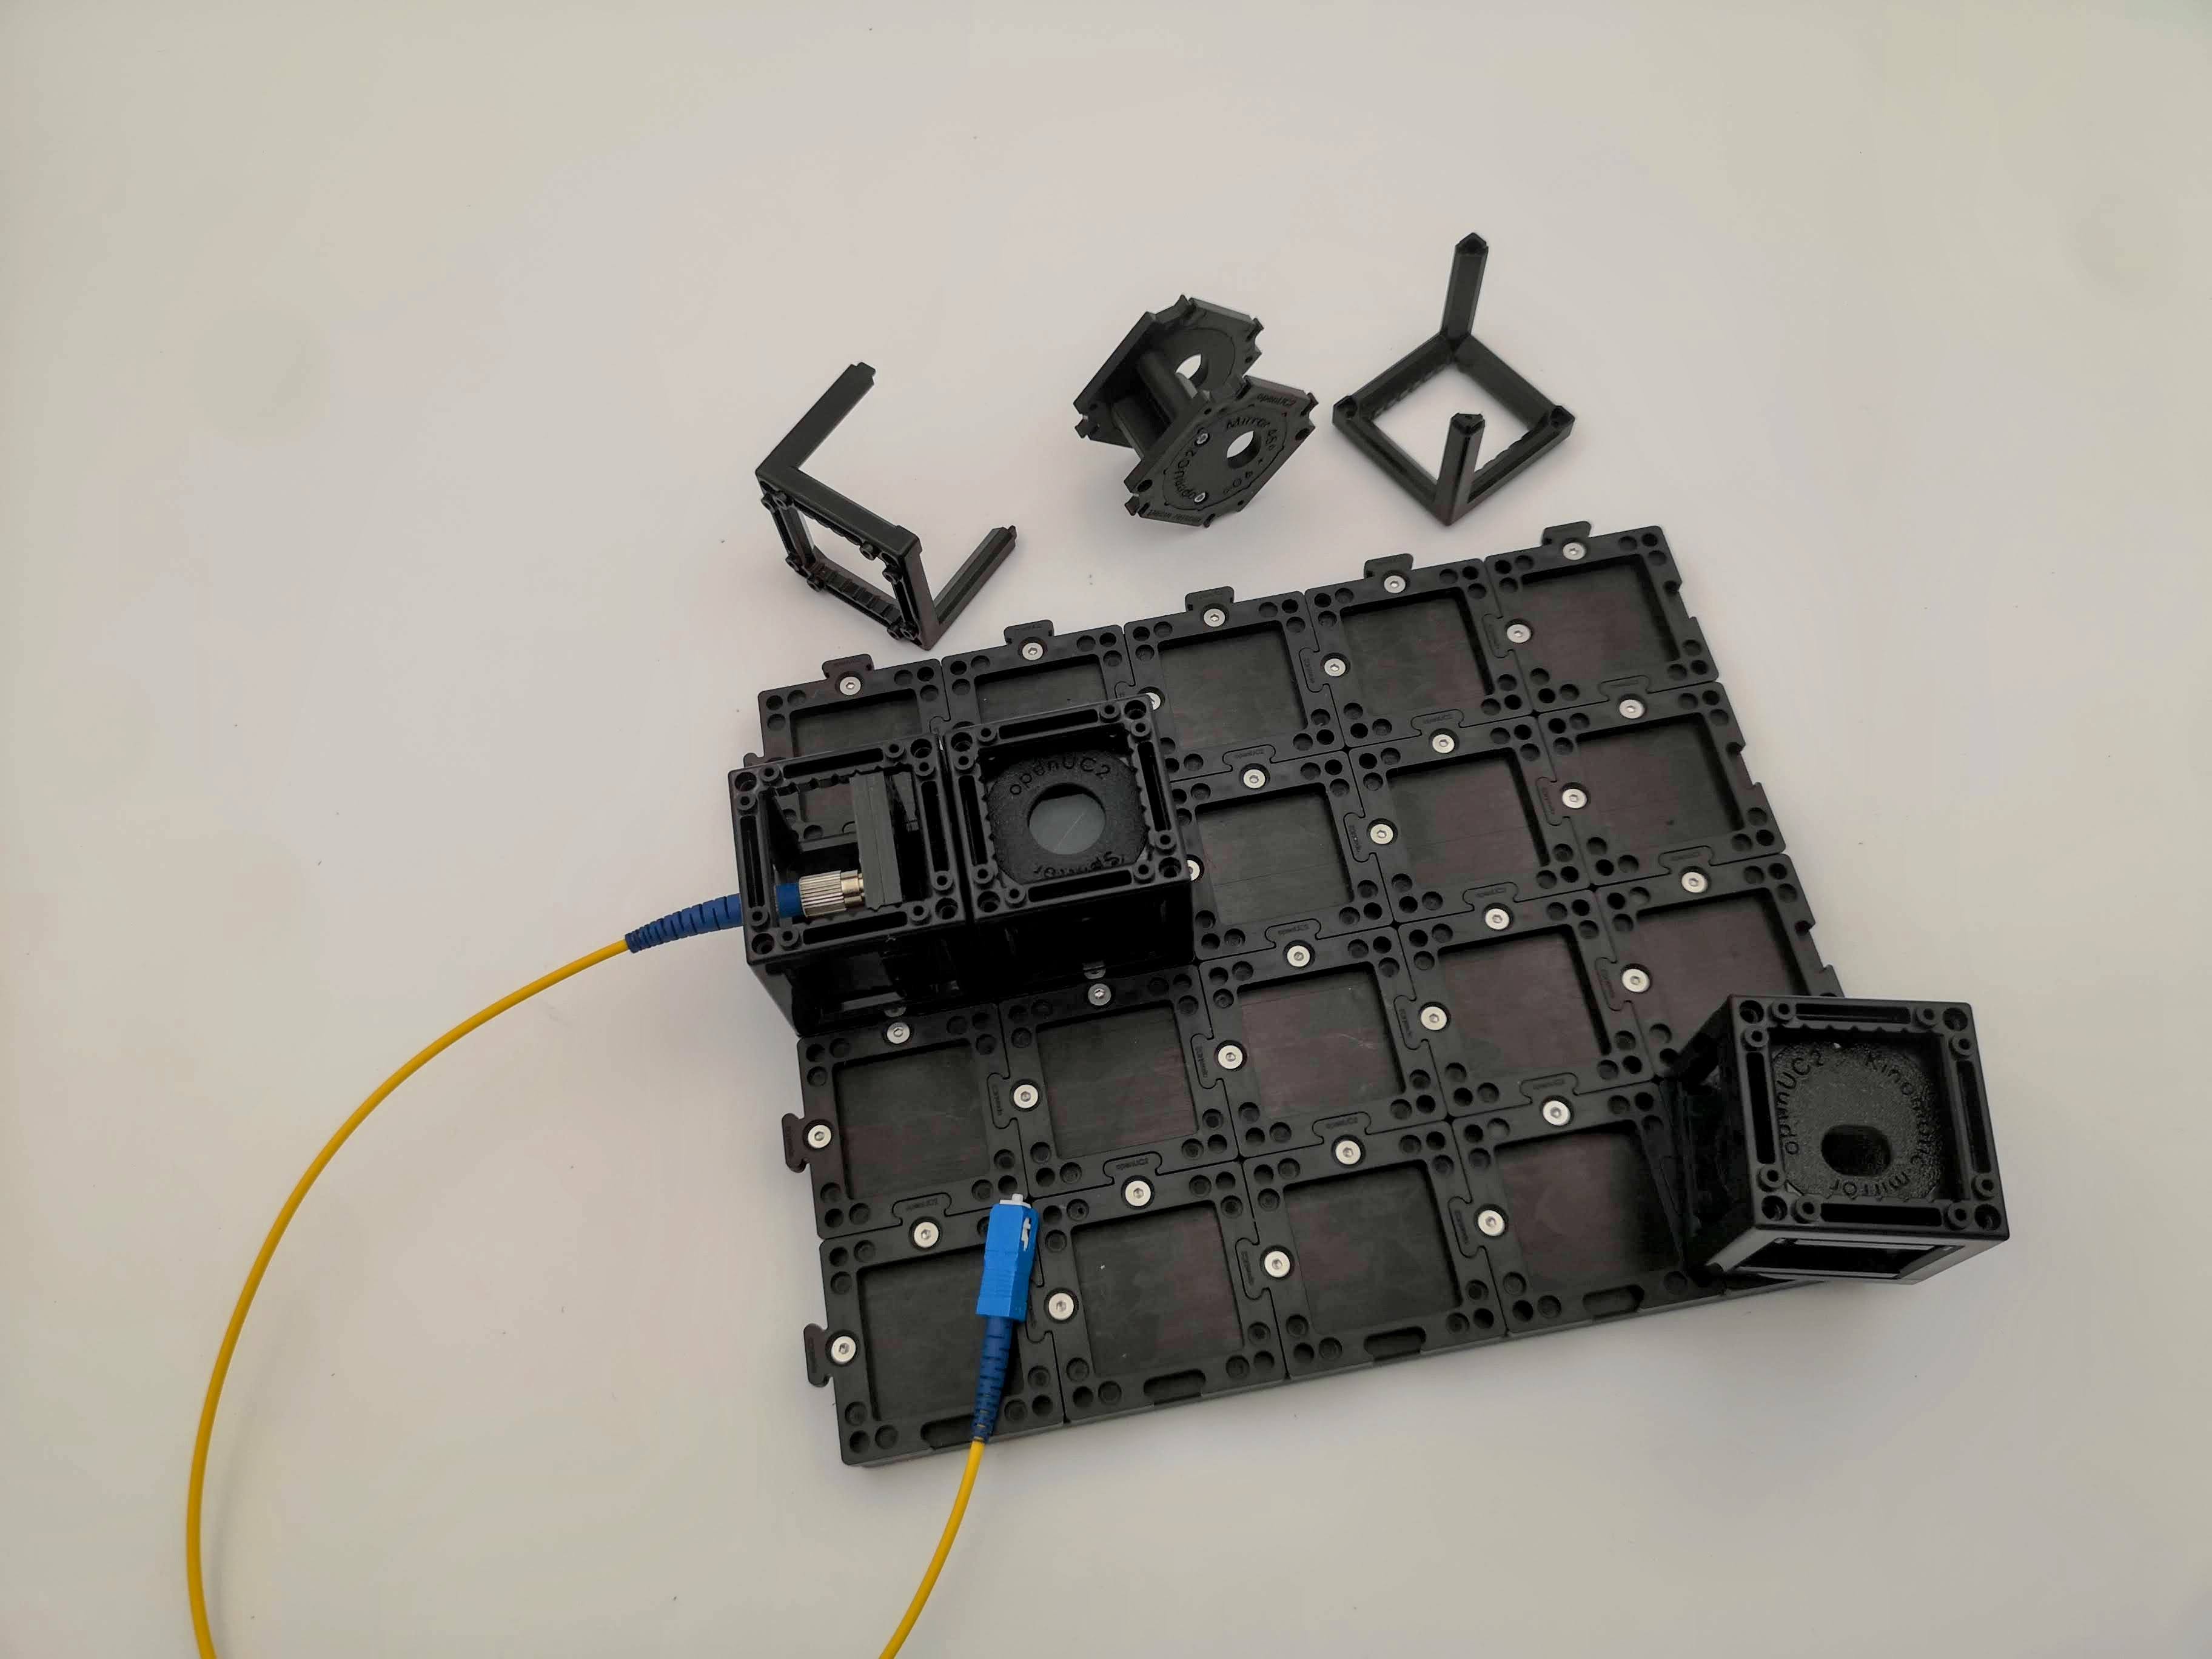 In case it's not 90° - open the cube
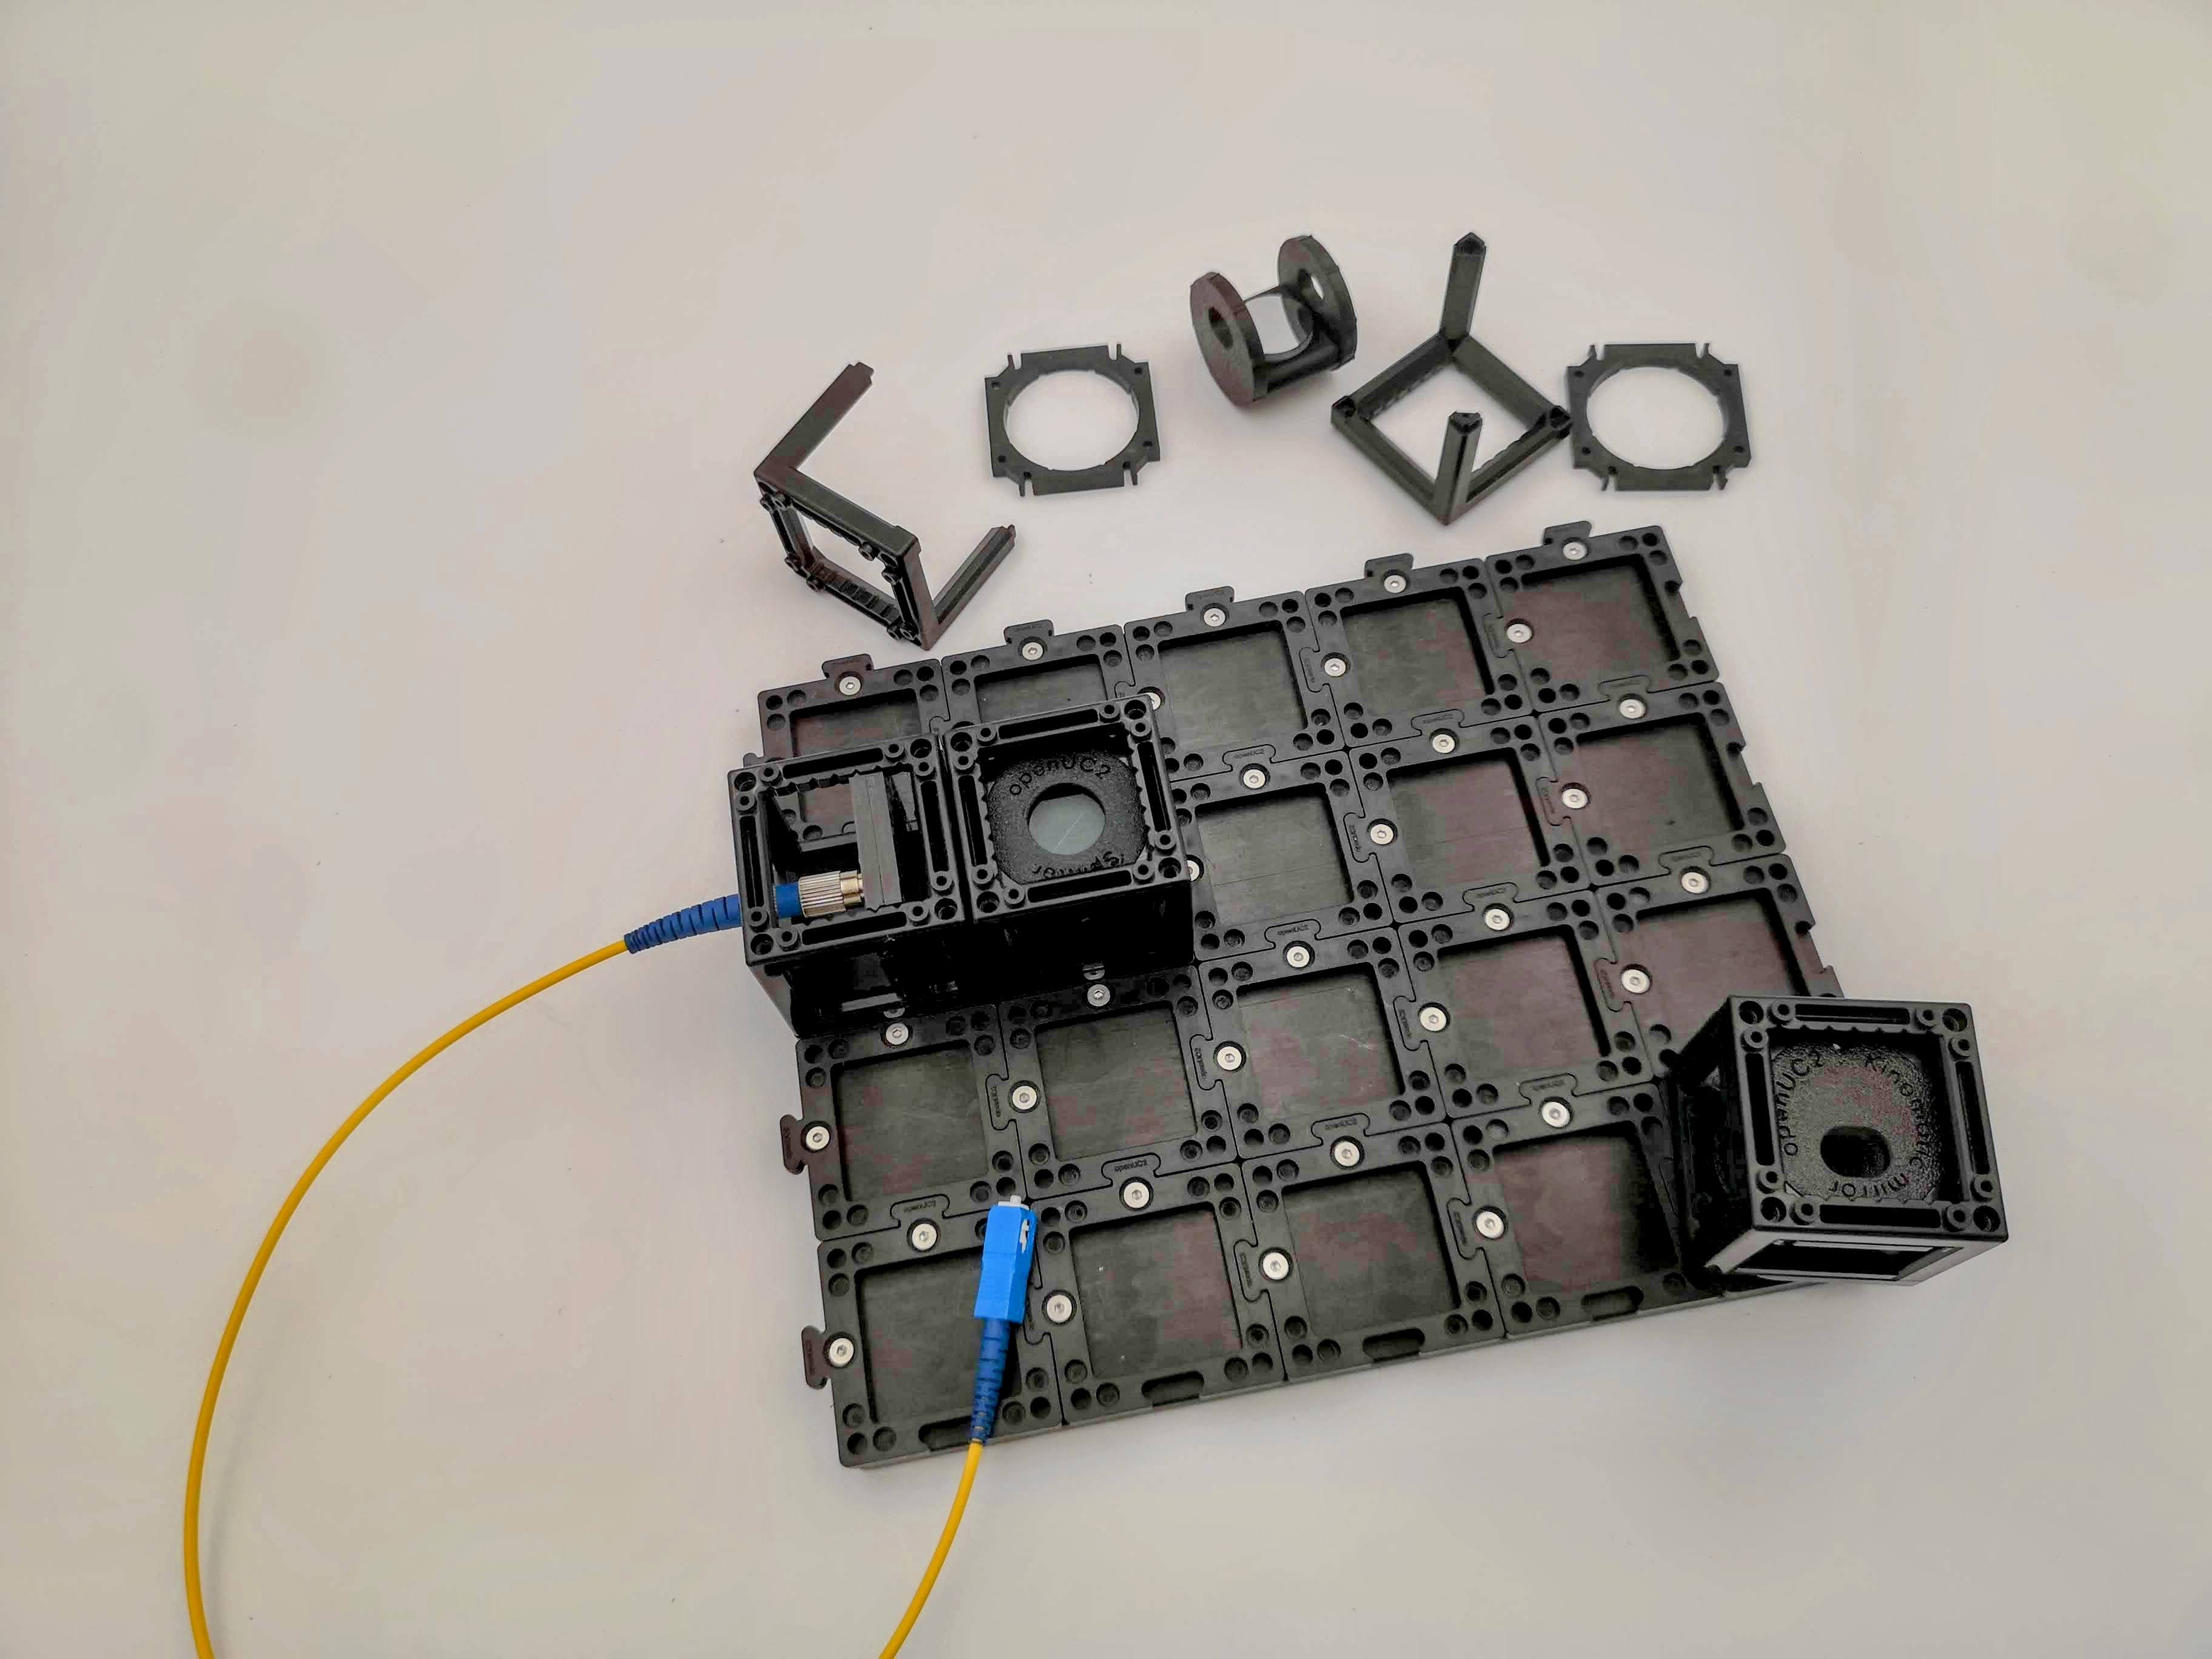 Unmount the inner mirror bit
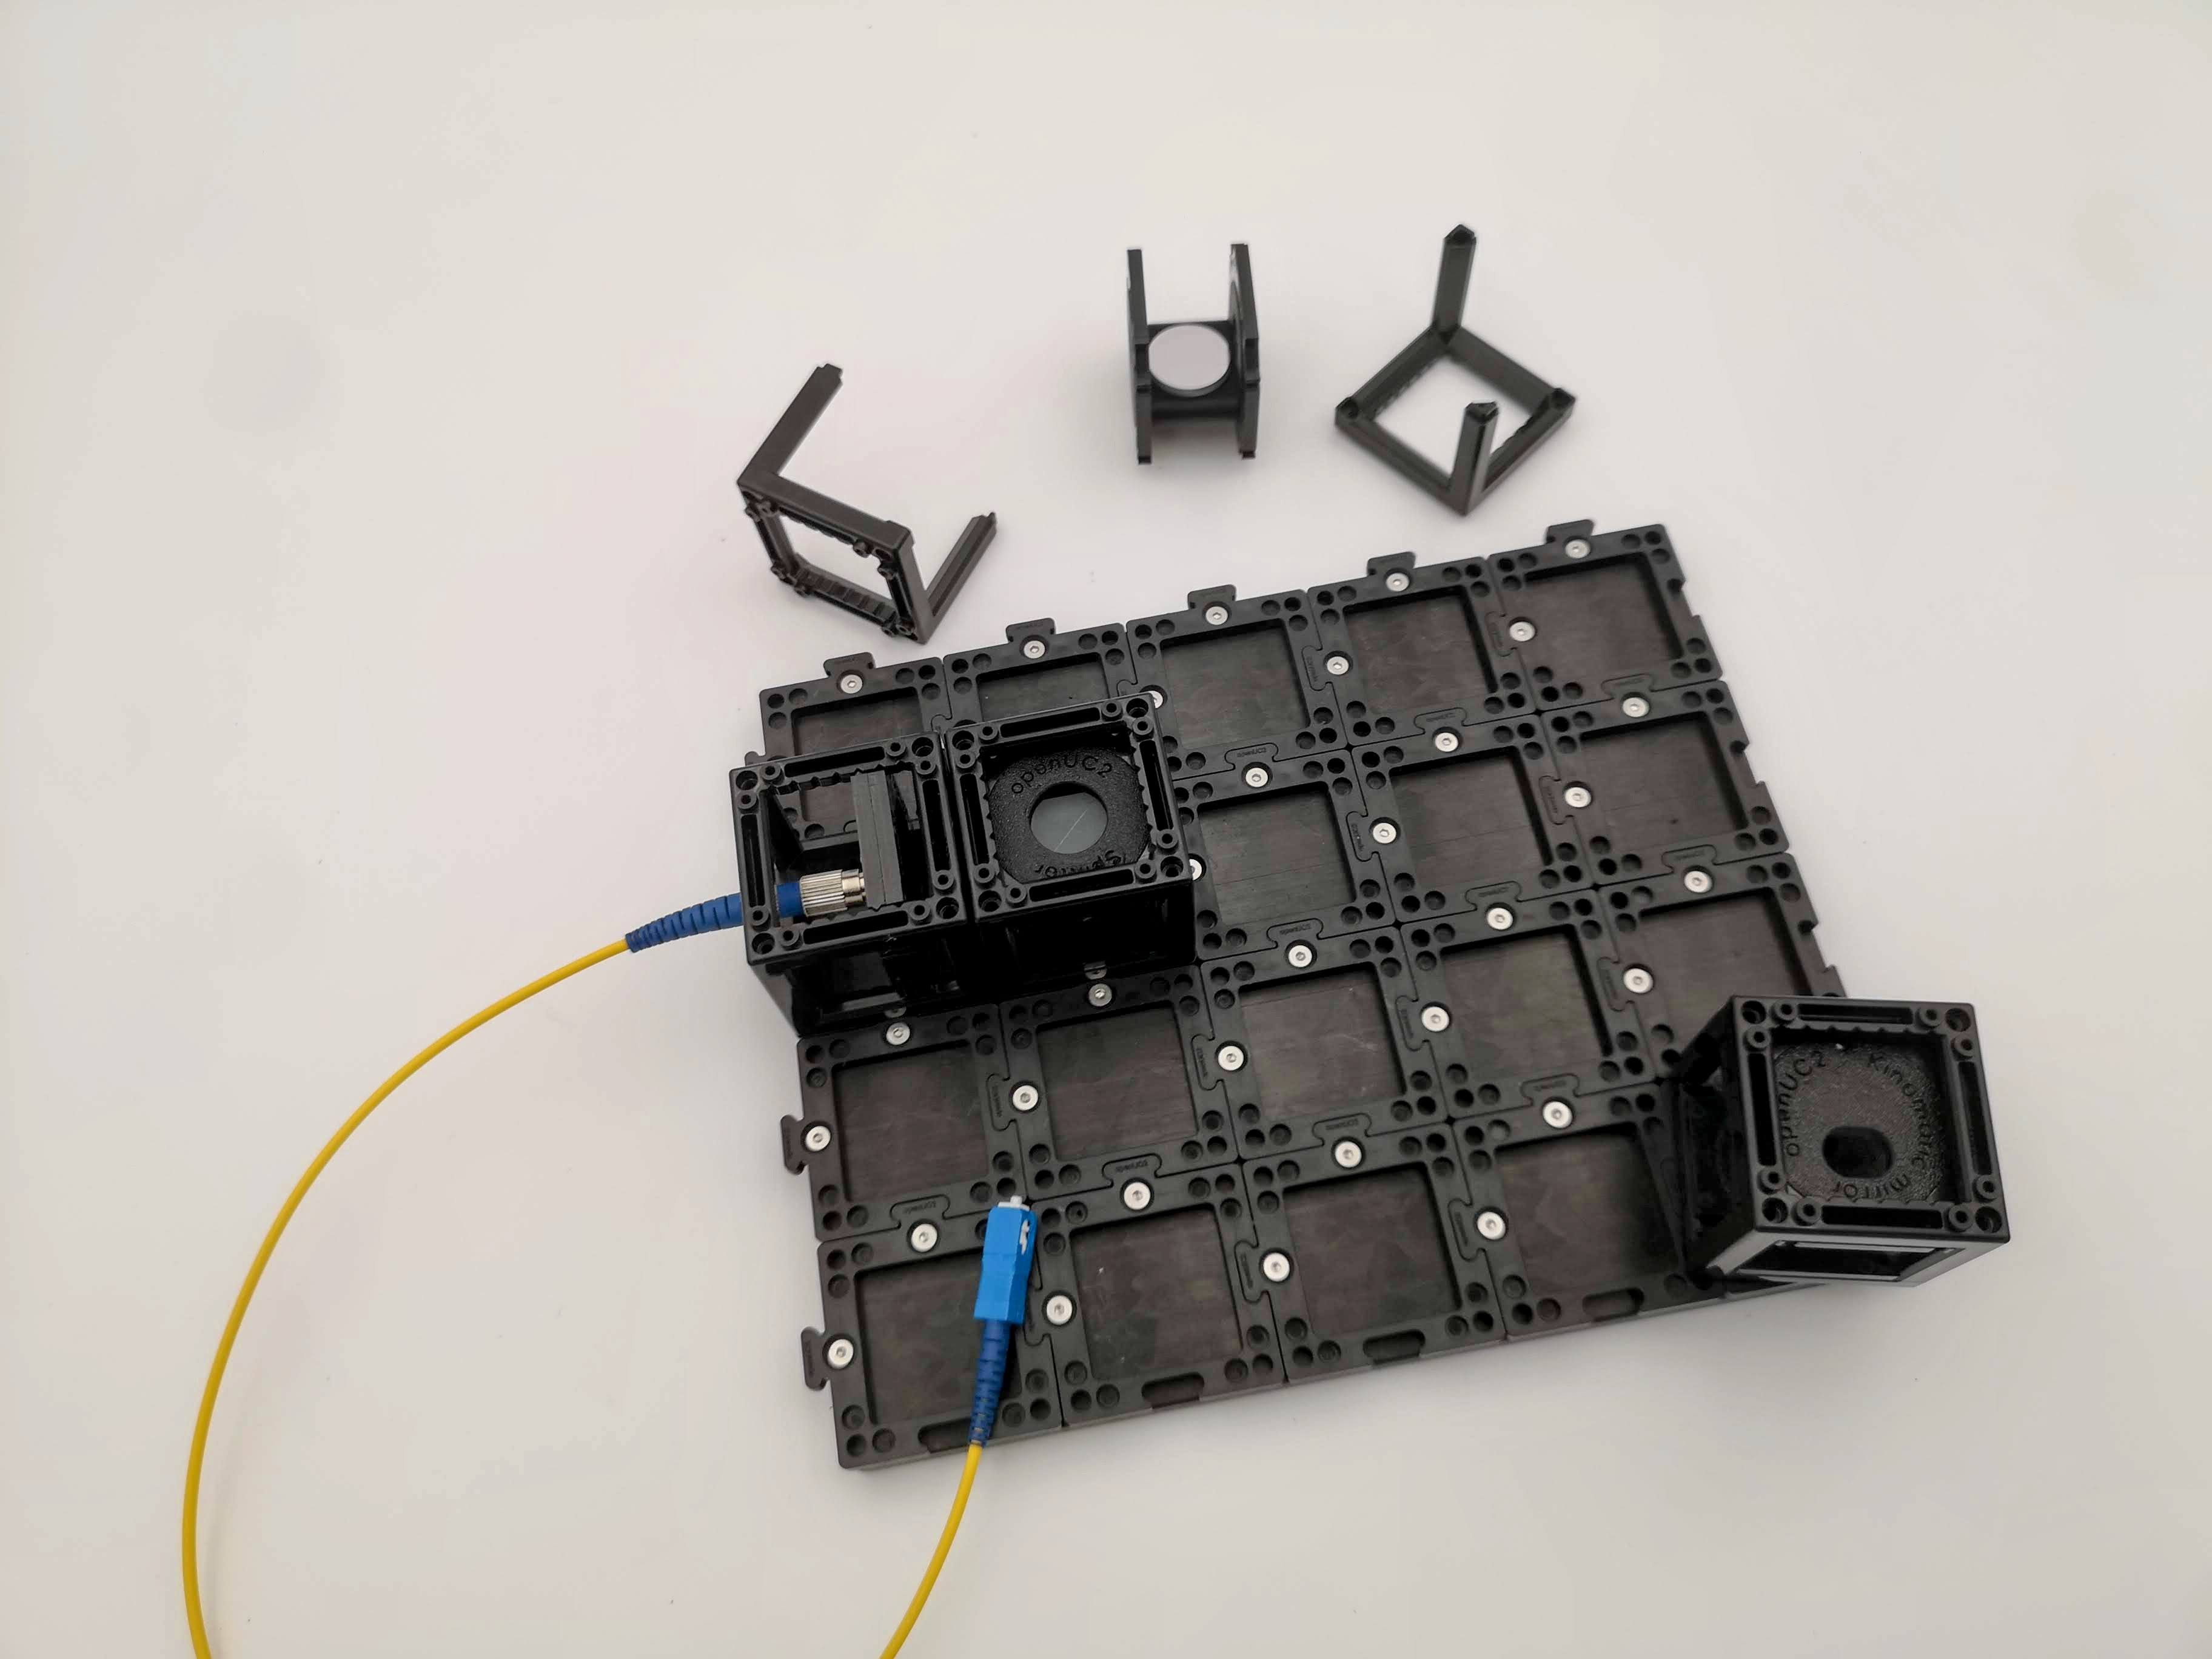 PUt it back in so that it arrives at 90°
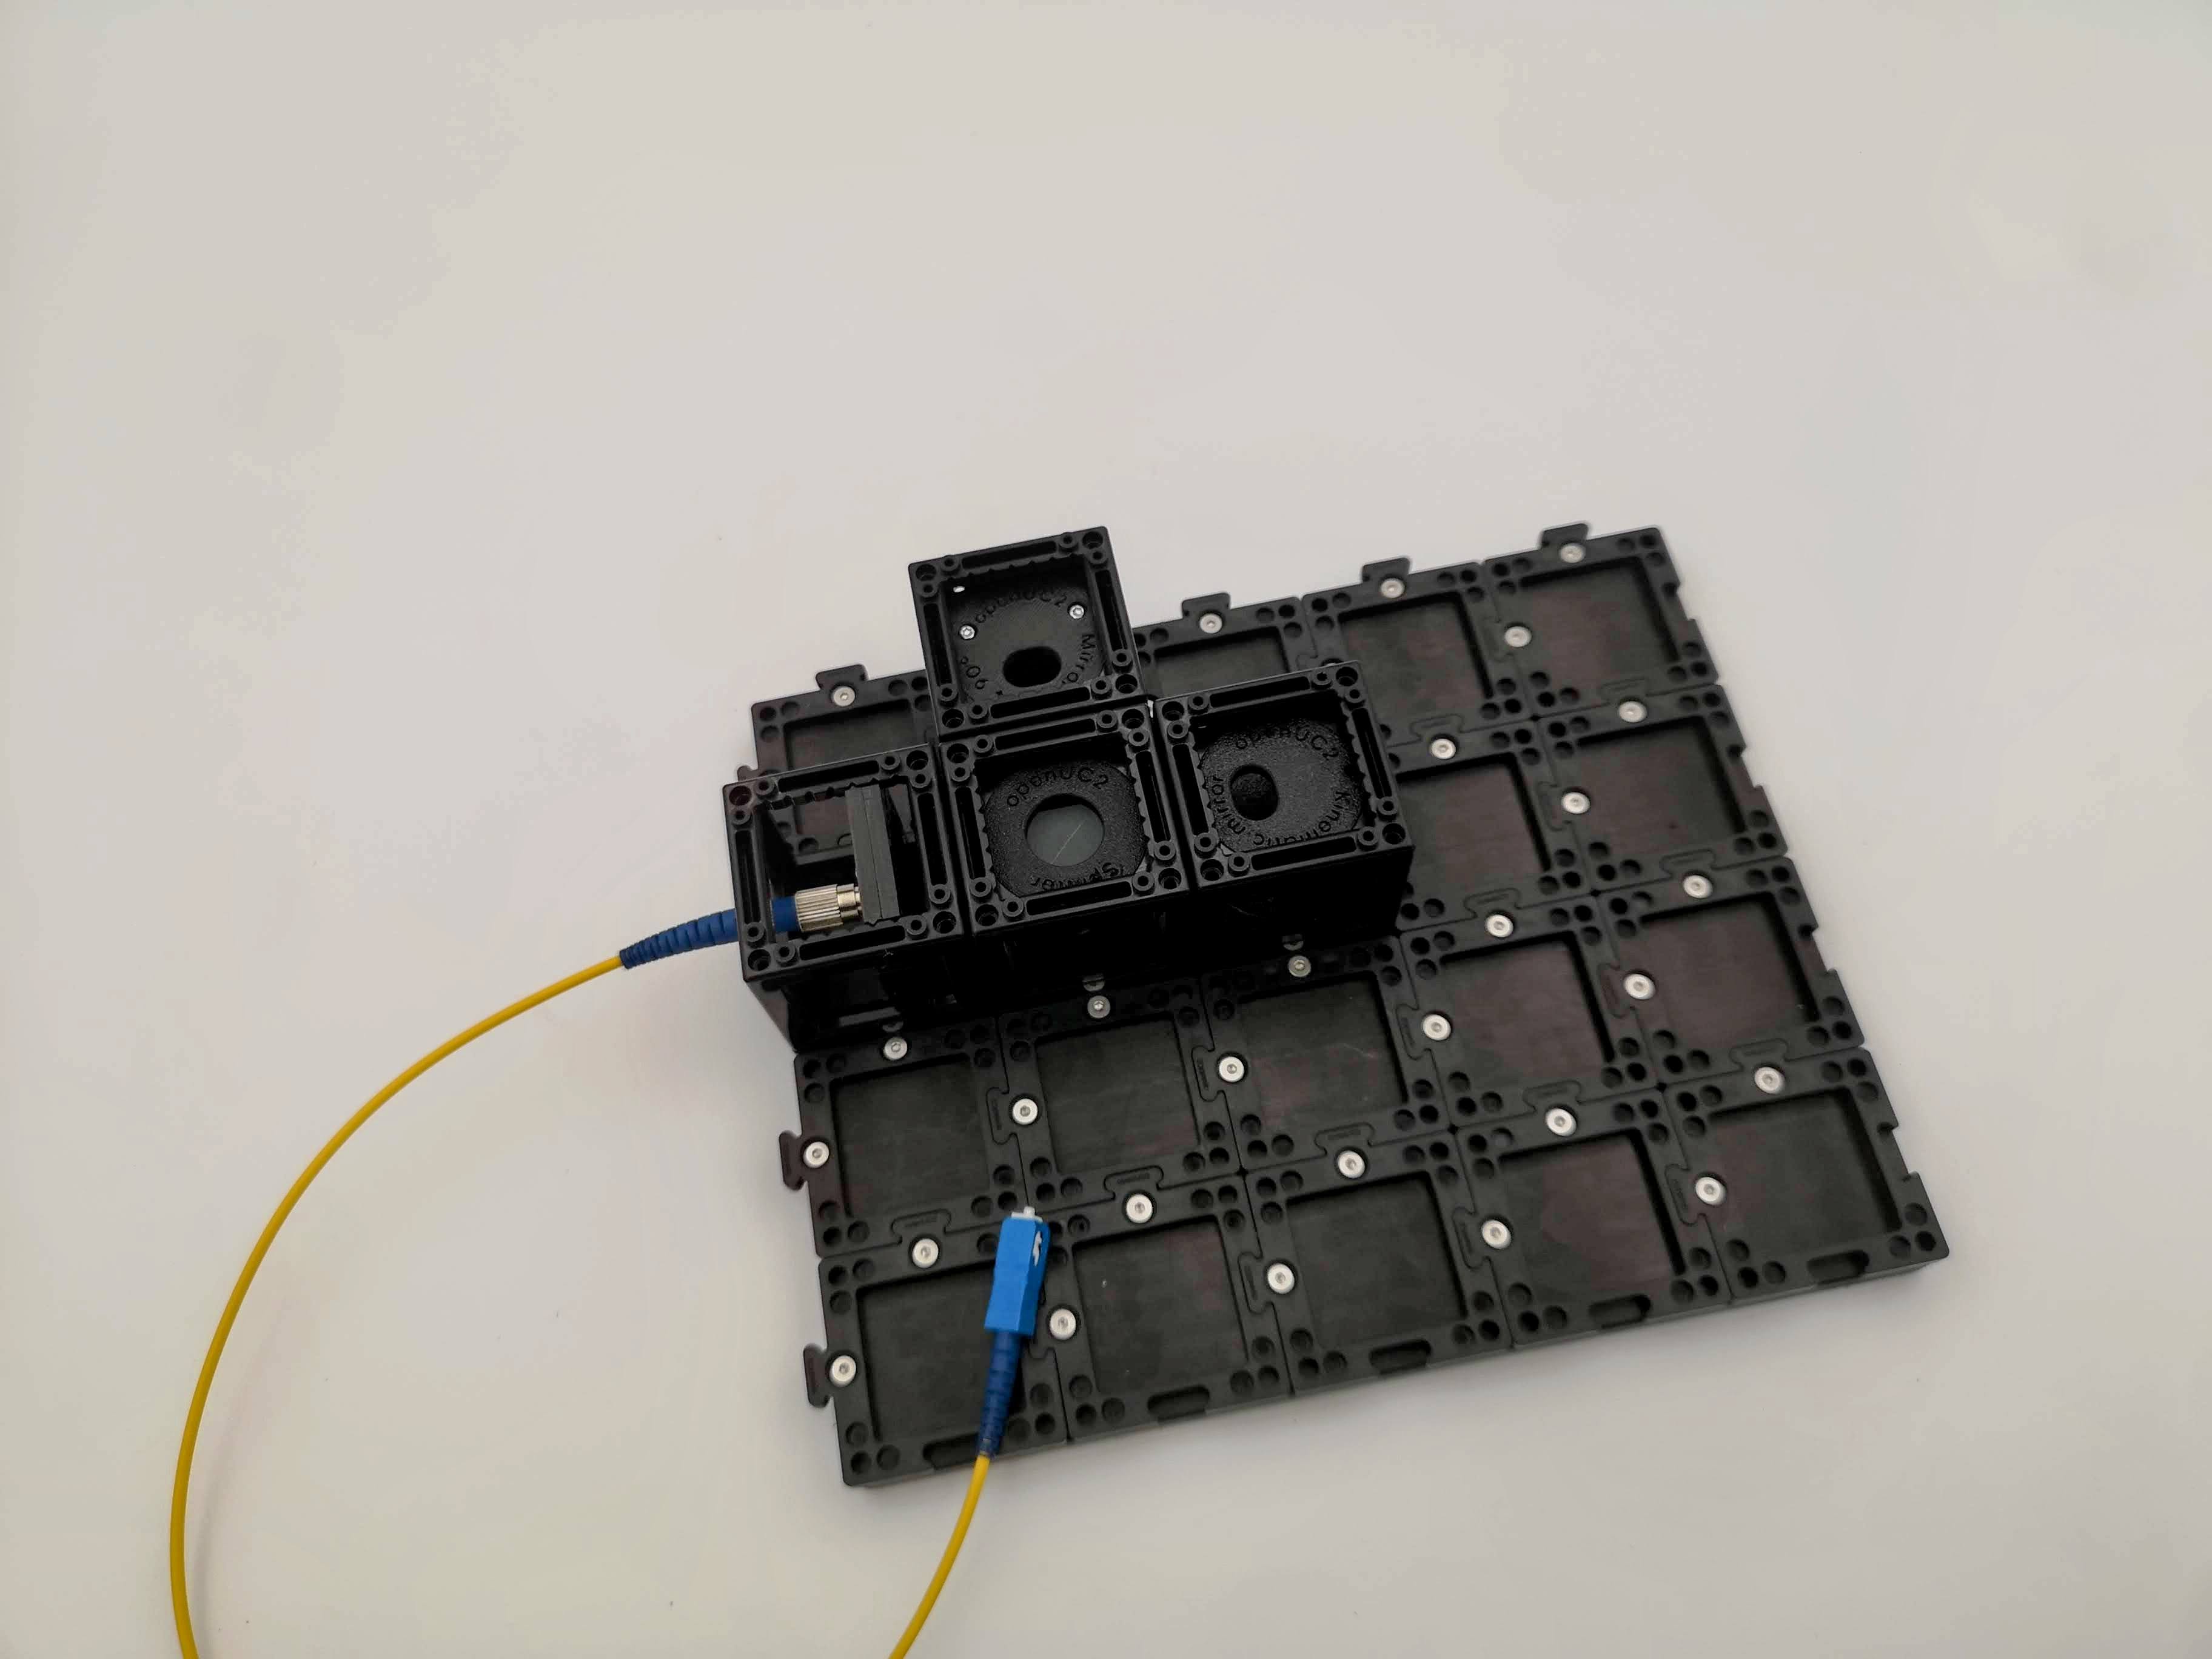 Add both mirrors to the plate
Each mirror bounces its beam straight back into the beam splitter, where the two beams recombine and head toward the screen.
Step 3 — Add the screen and switch on
Put the screen on the fourth side of the beam splitter (opposite the laser). Now turn the laser on.
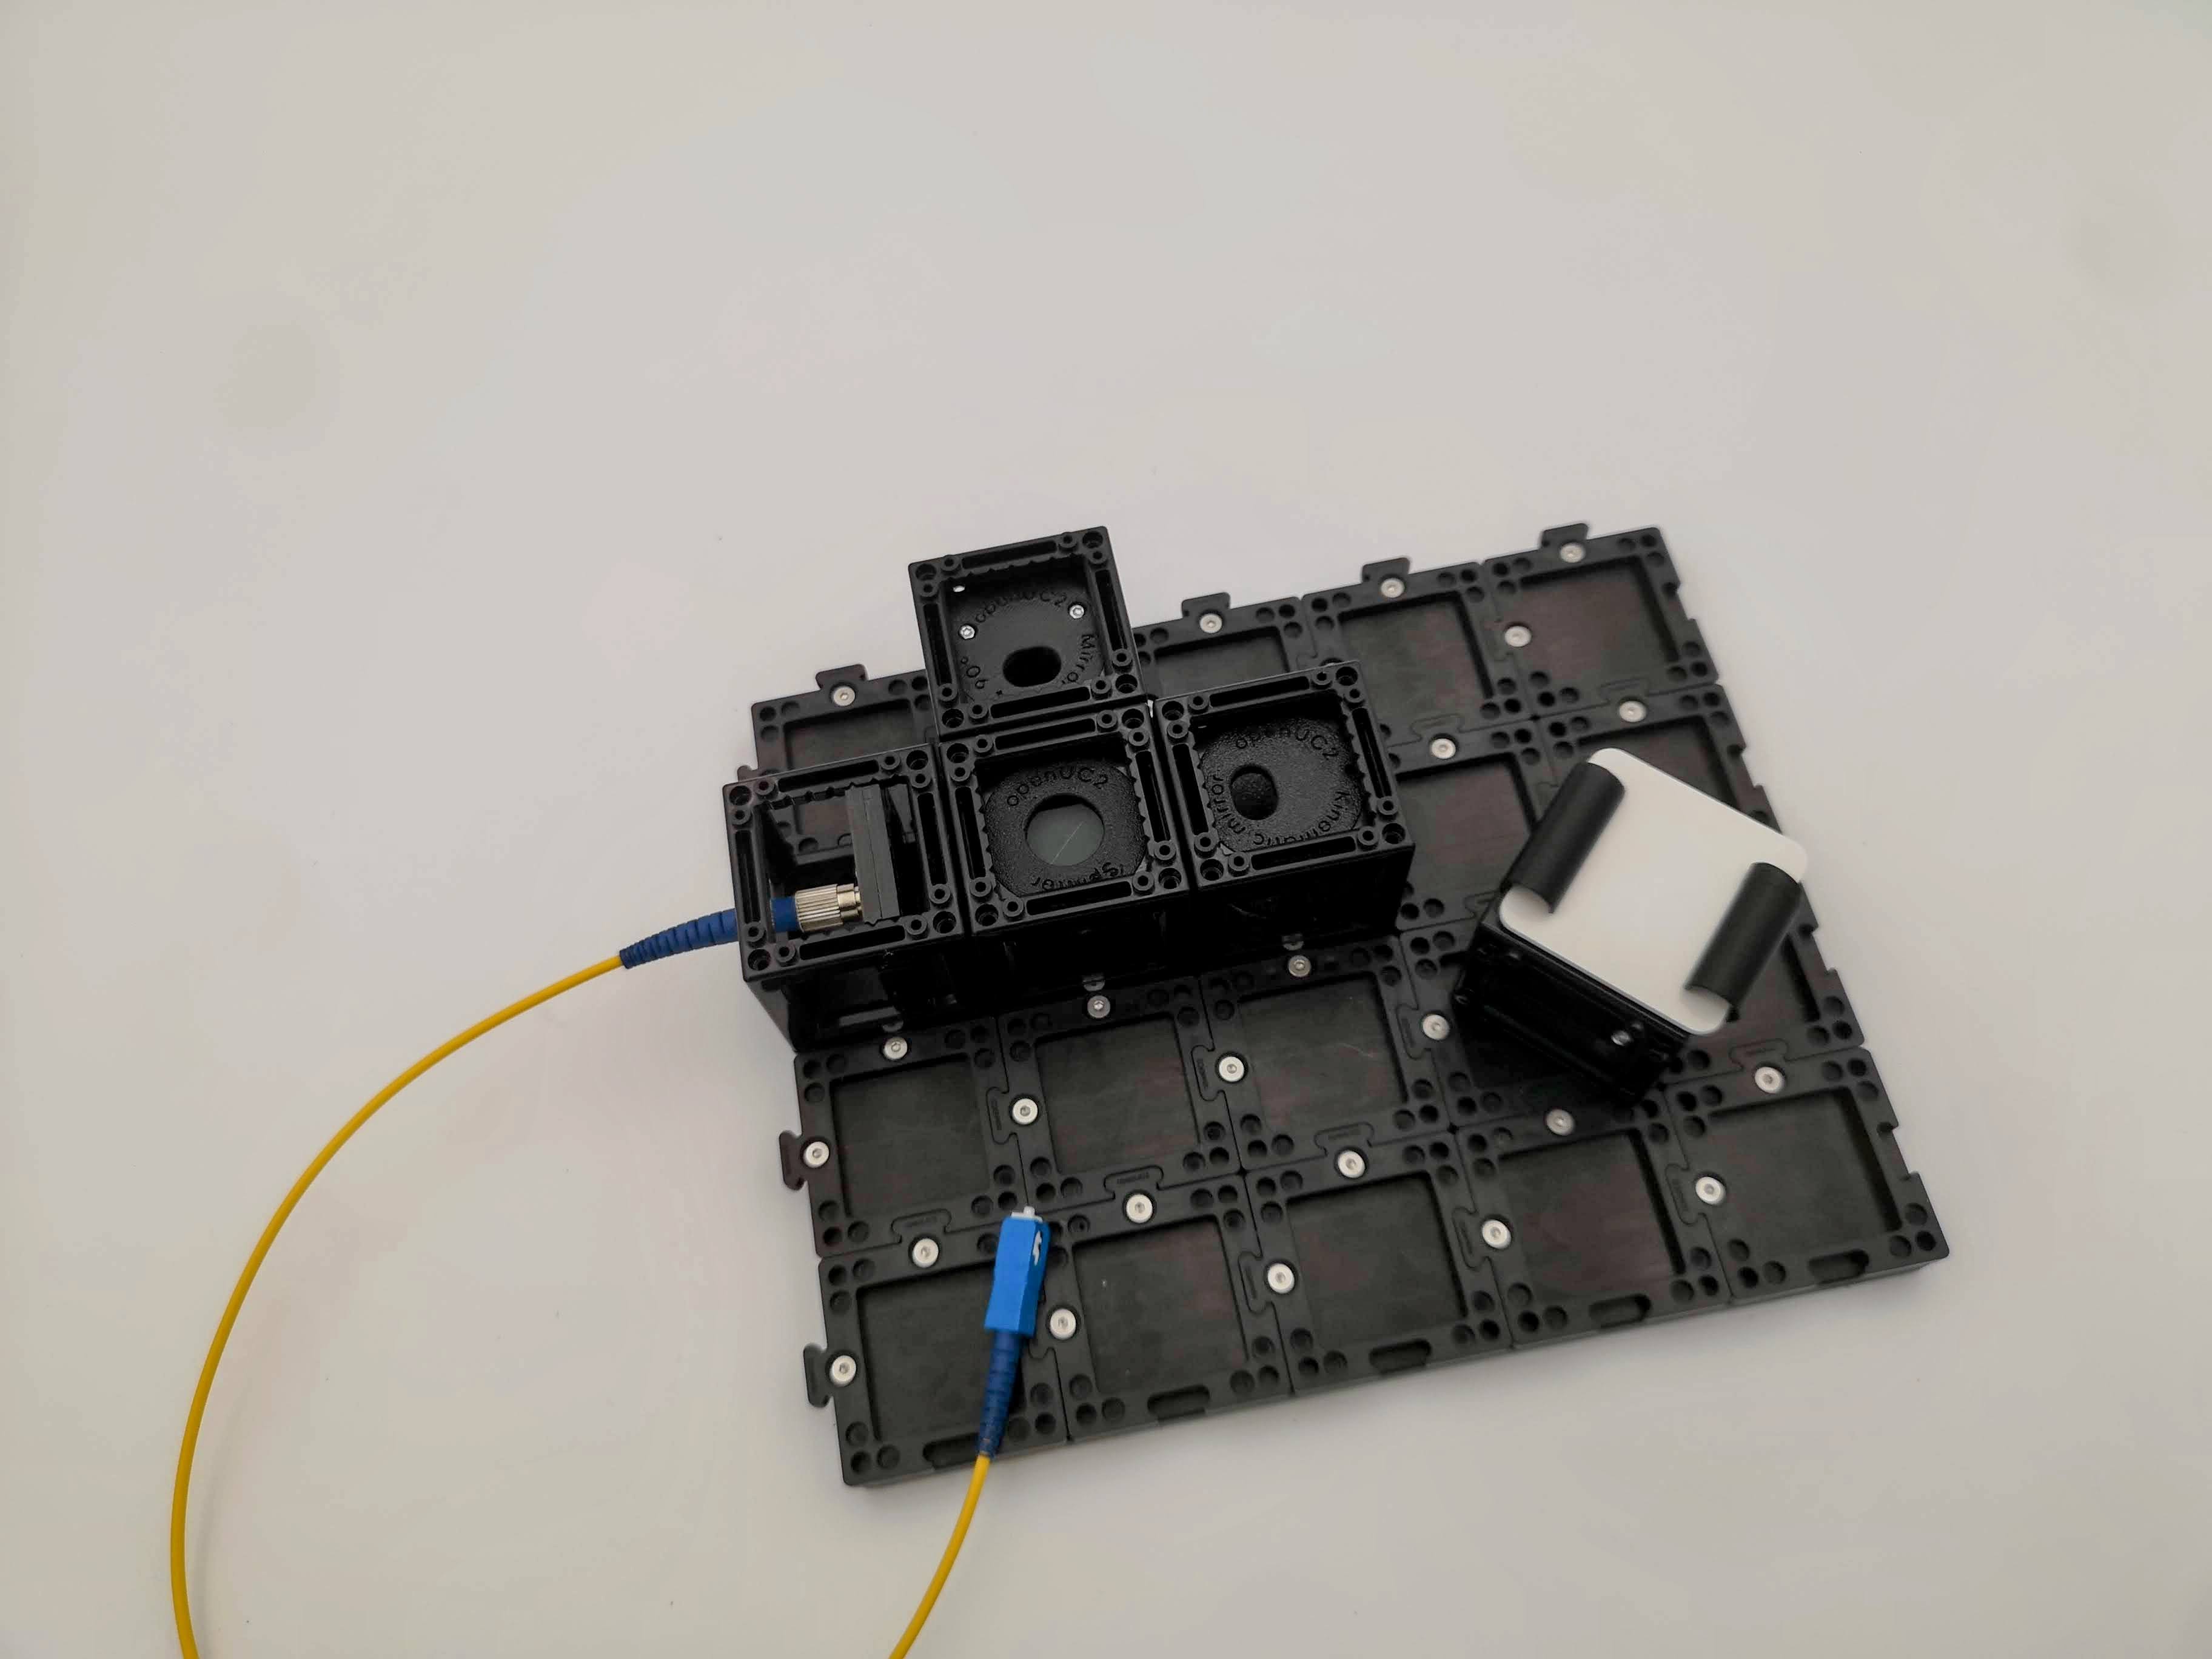 add the screen
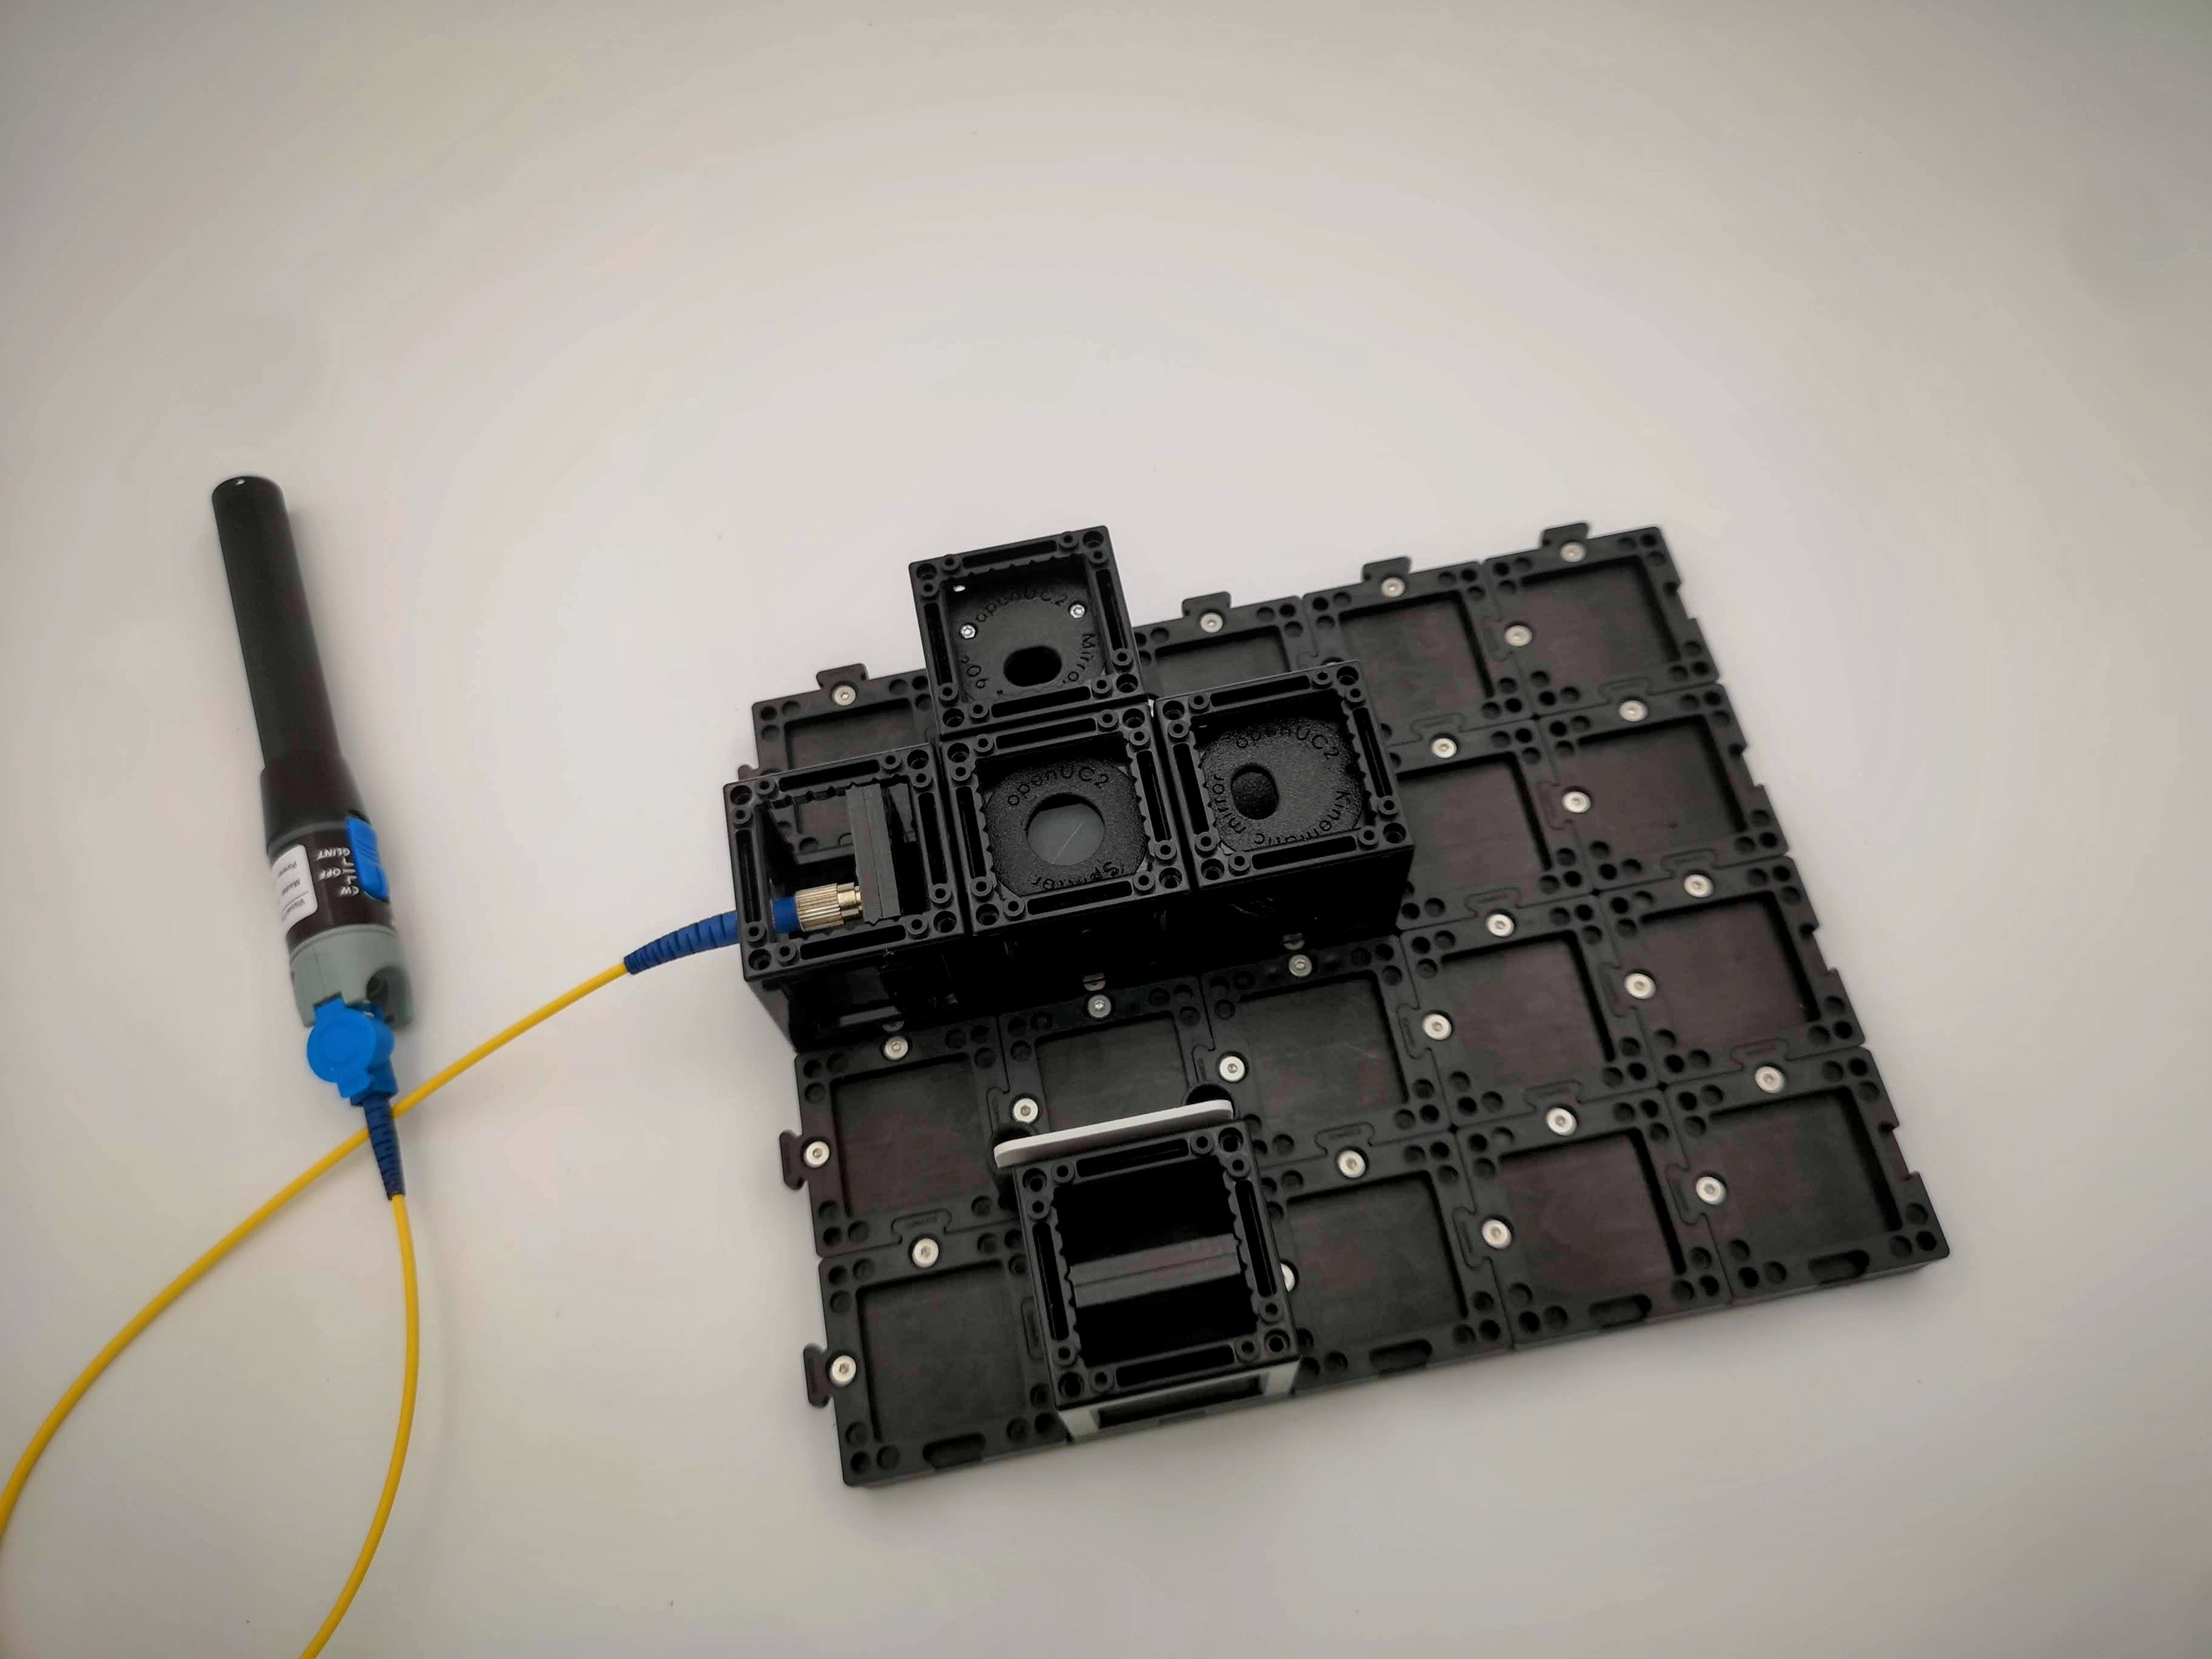 Add the laser to the fiber
You'll probably see two separate red dots or red circles on the screen — one from each mirror. Two dots means the beams aren't lined up yet. That's expected.
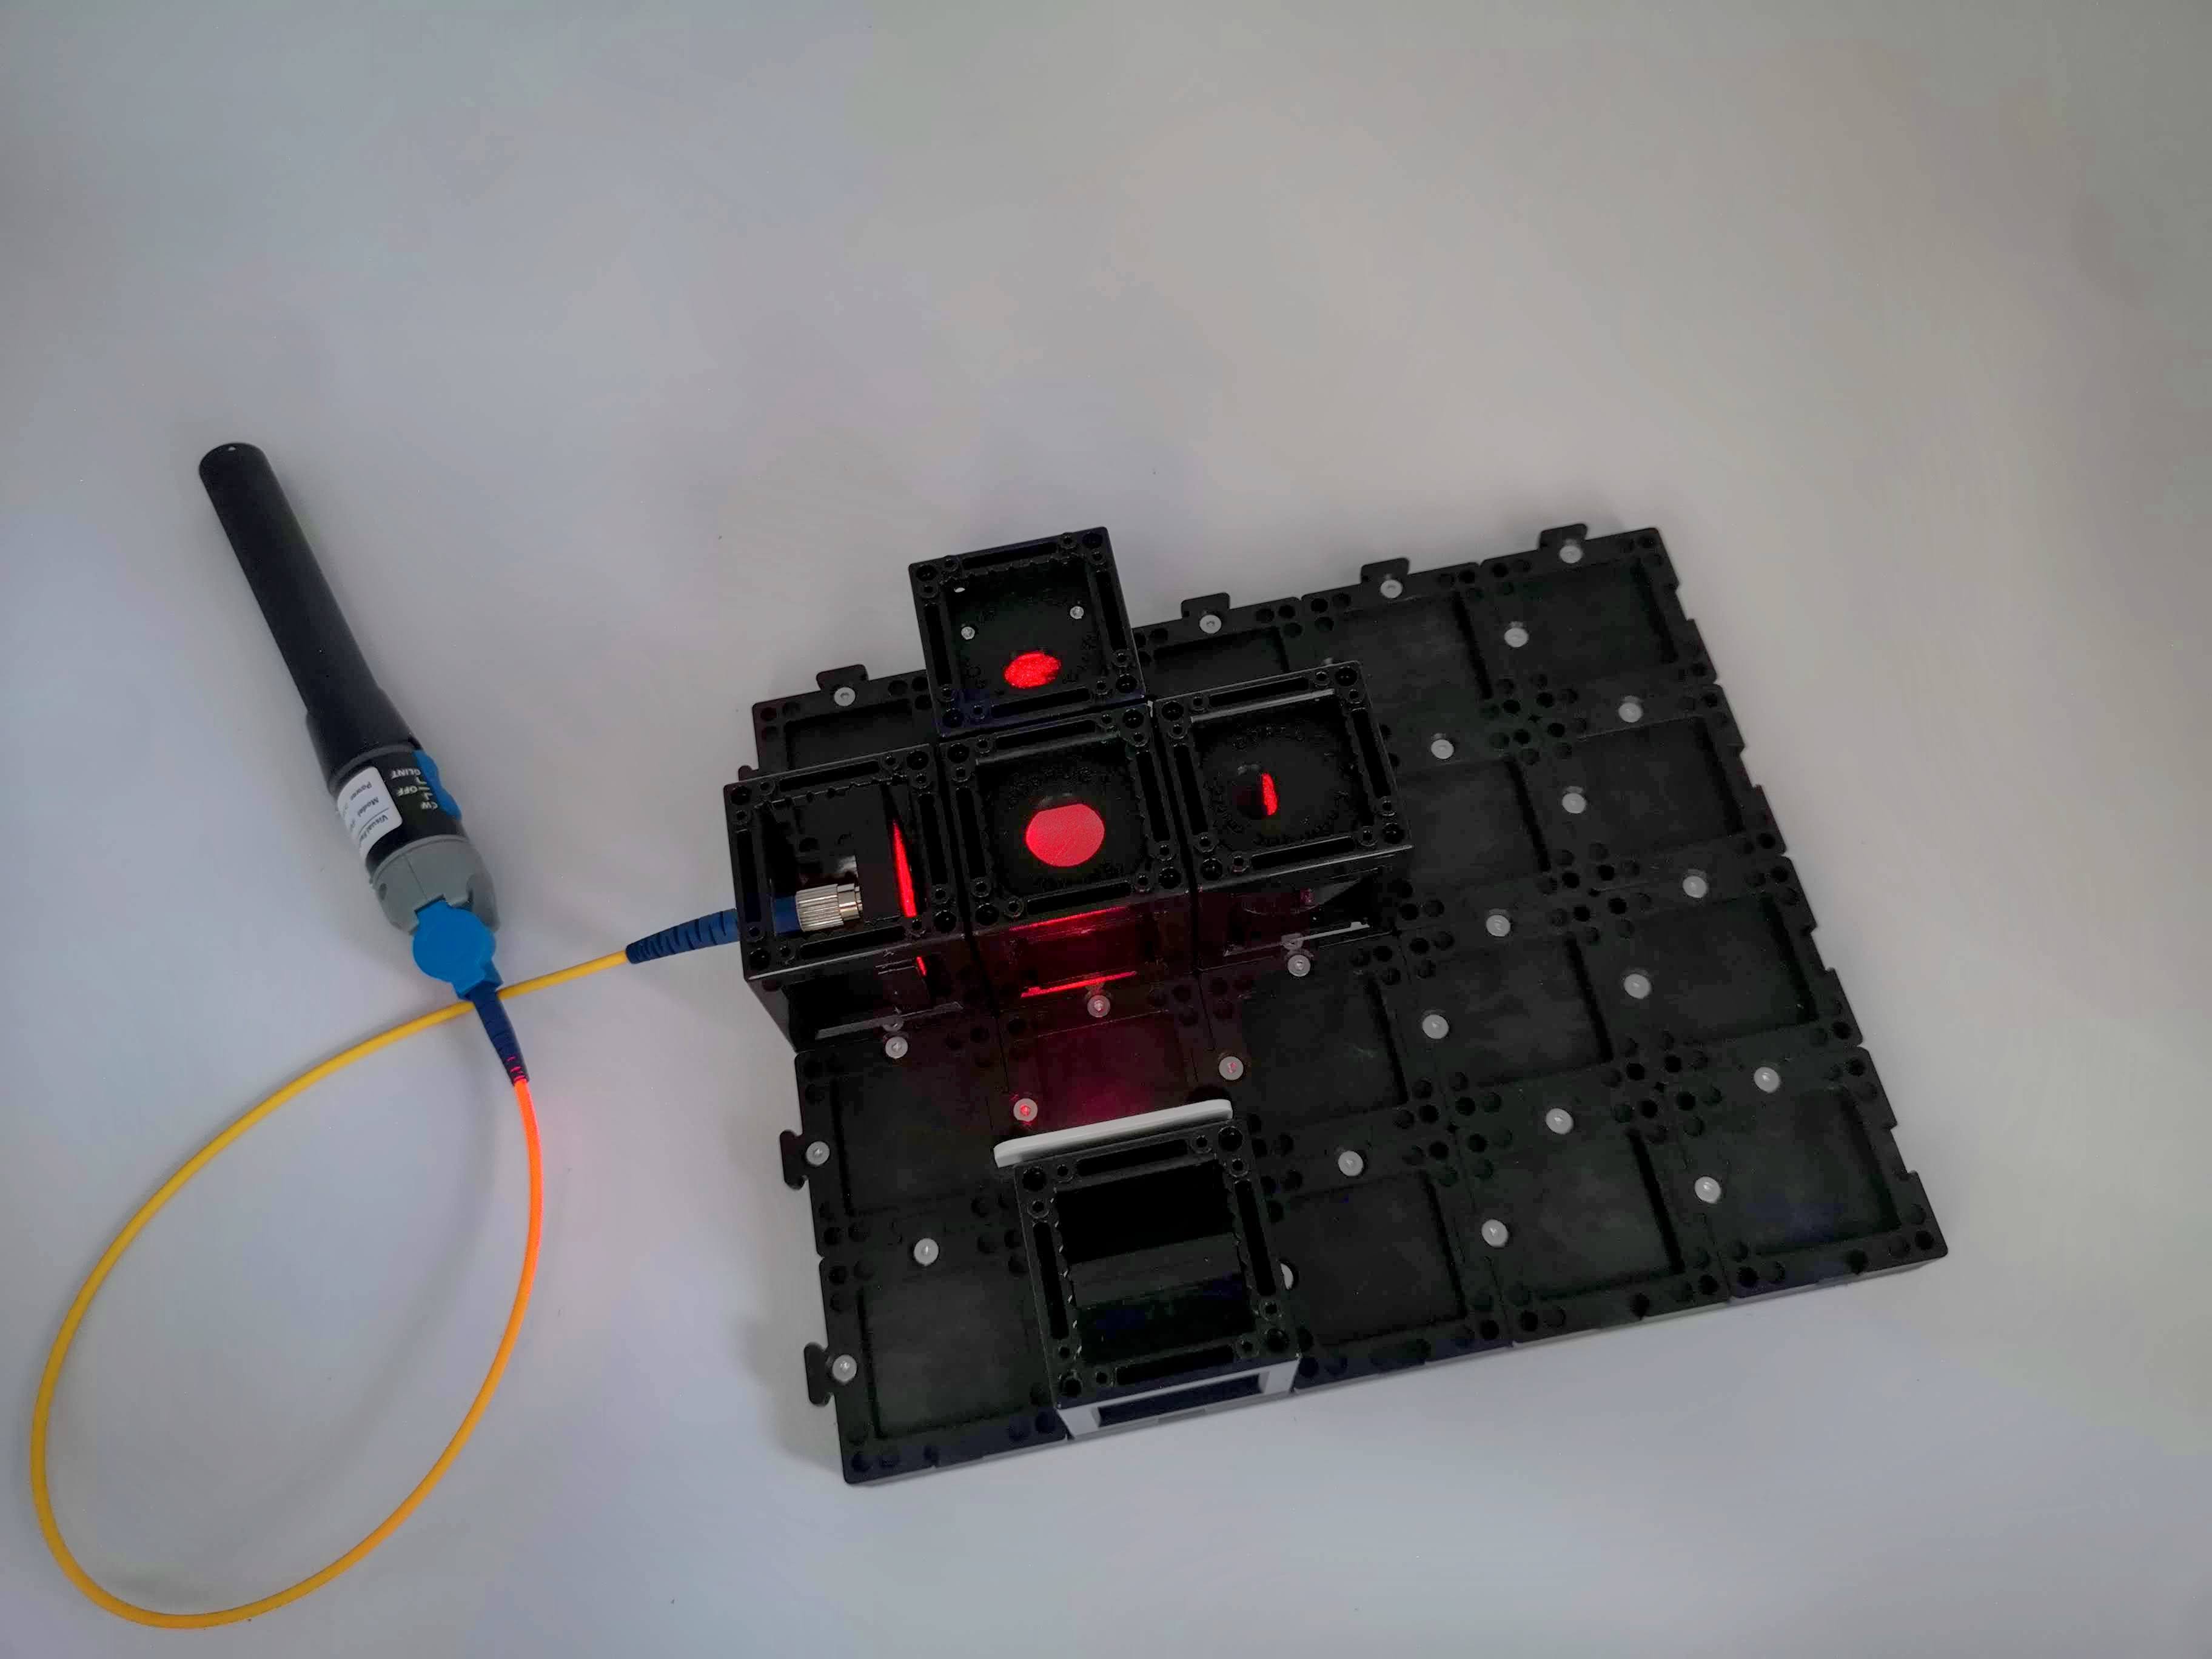
Step 4 — Overlap the two dots
Using the hex screwdriver, gently turn the two screws on the adjustable mirror. Watch one of the dots move. Walk it across the screen until it sits exactly on top of the other dot.
Go slowly — a small turn moves the dot a long way. Patience here is the whole game.
Step 5 — Add the lens and find the fringes
Now click the converging lens into the beam path between the laser and the beam splitter. This spreads each dot into a broad disc of light. Where the two discs overlap, you'll start to see fringes — and as you fine-tune the screws, they curl into a set of concentric rings (called Newton's rings).
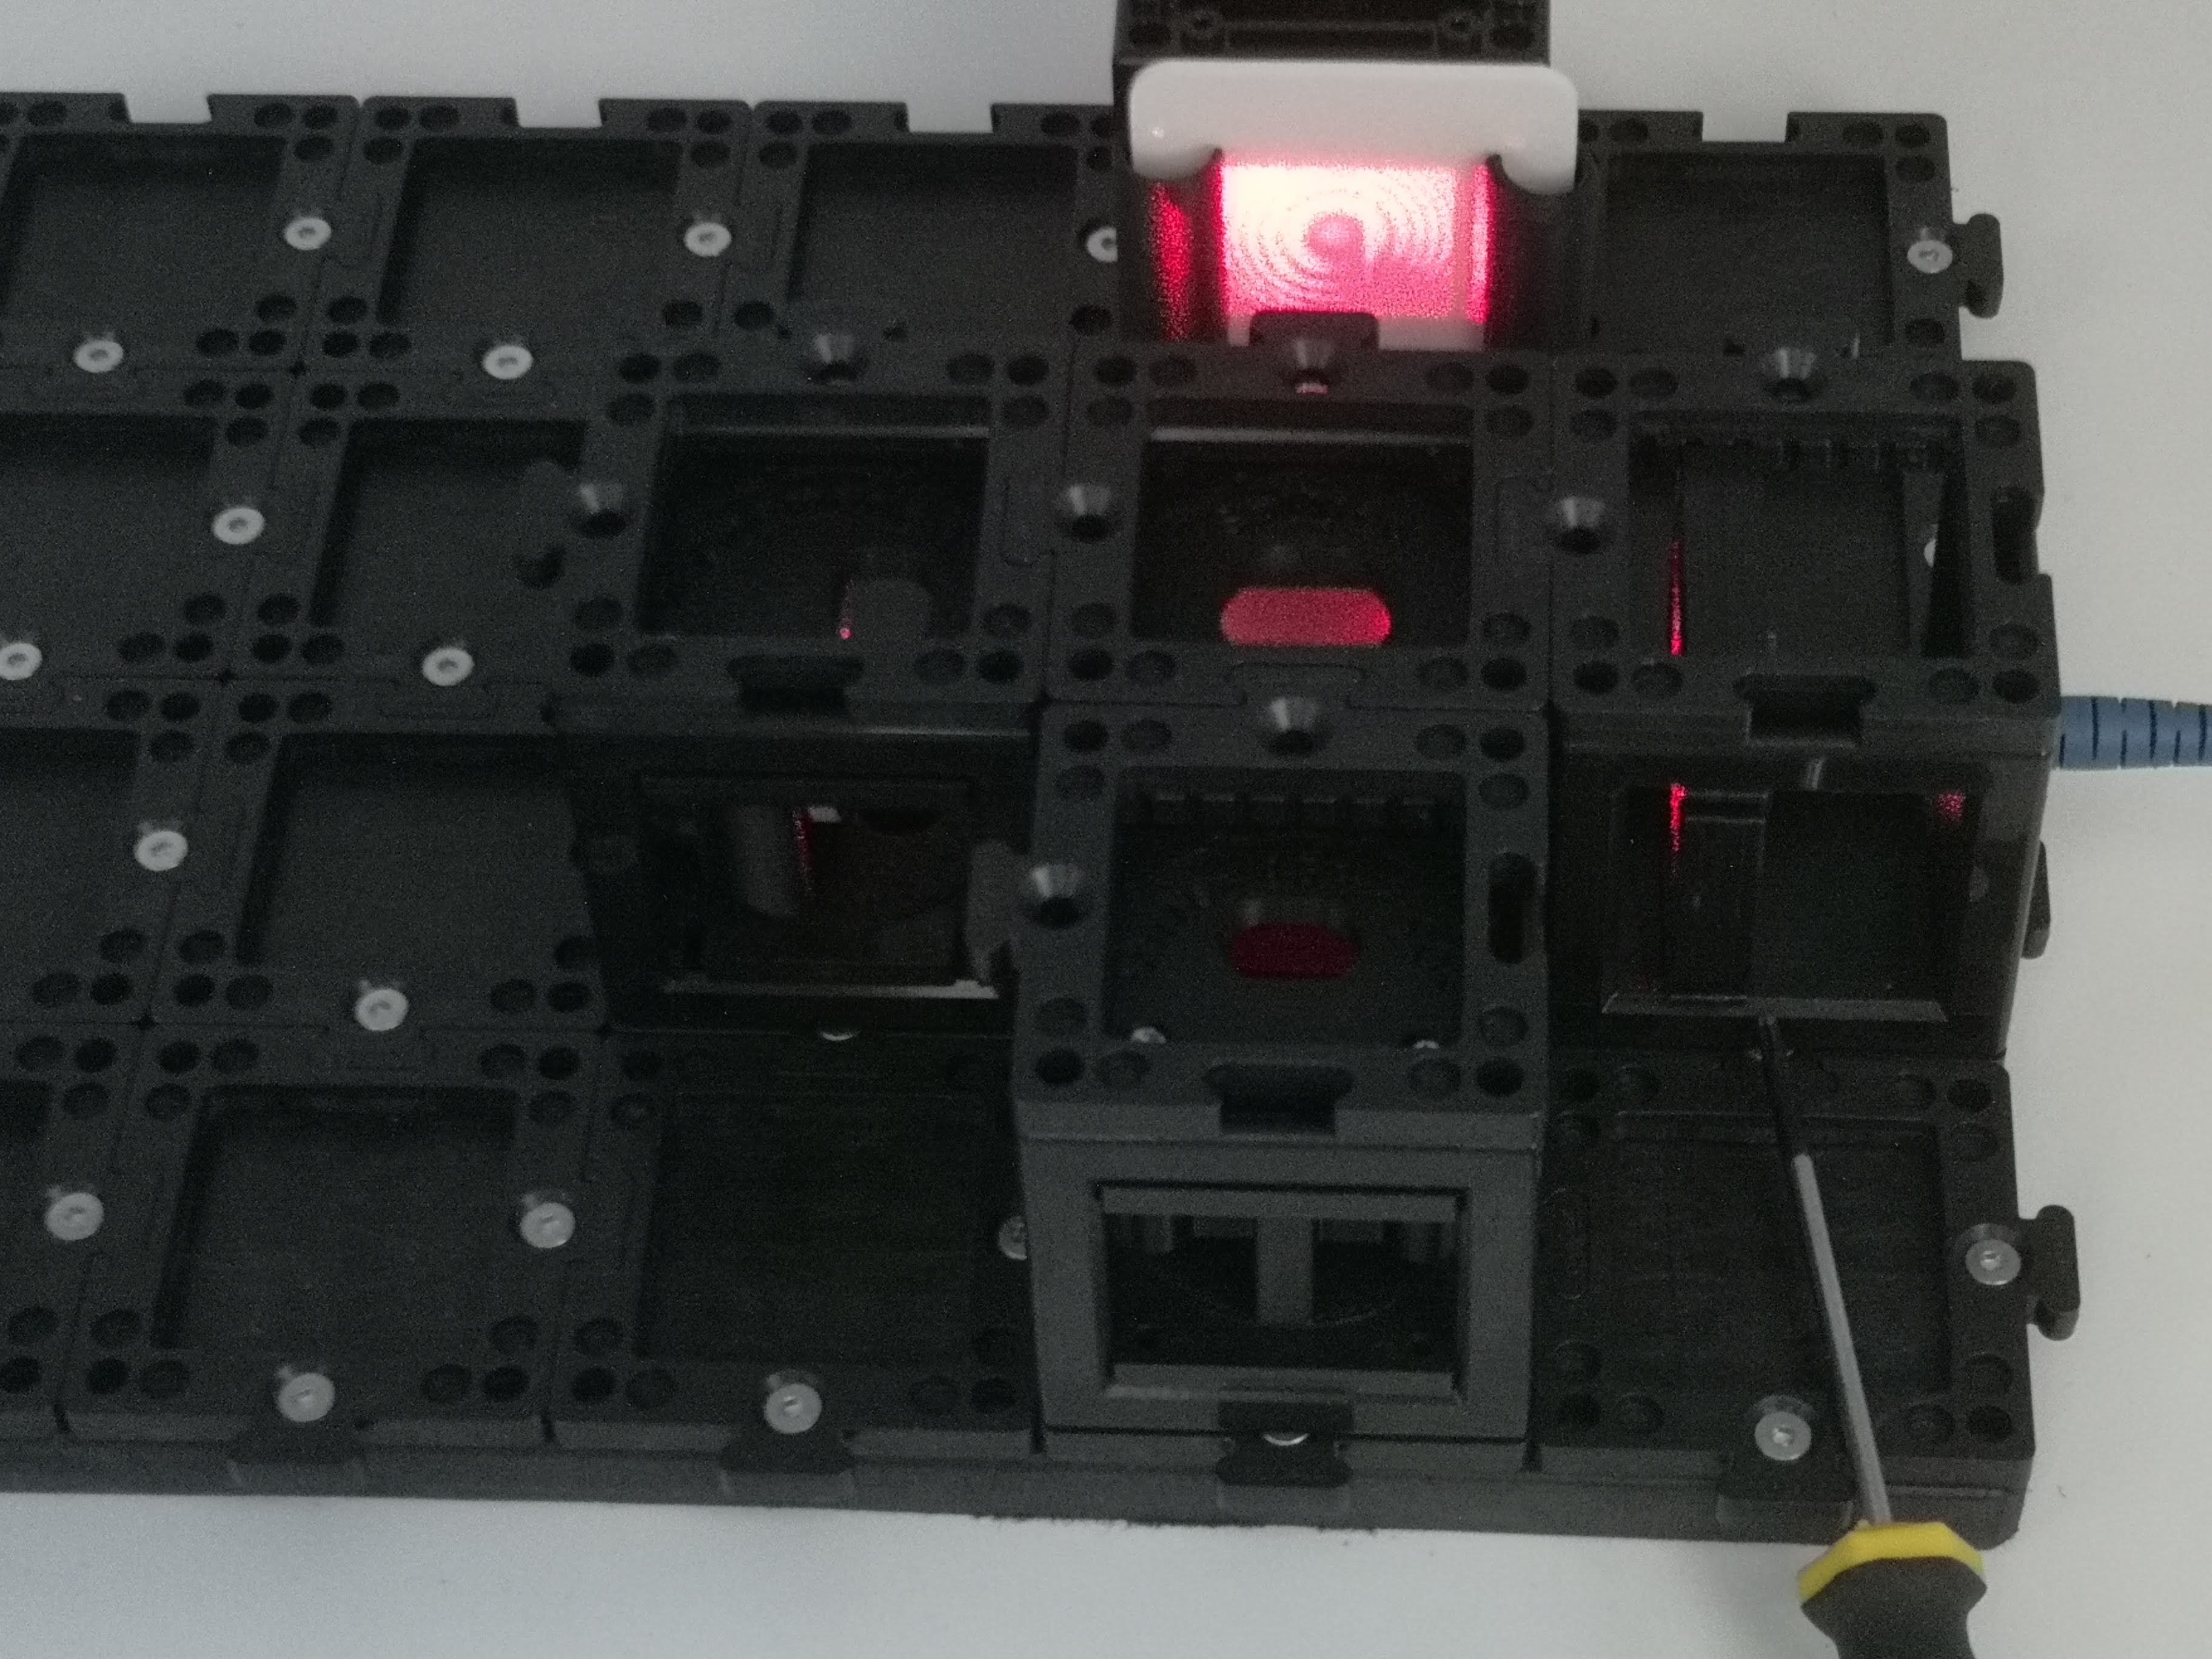
That ring pattern is interference. The dark rings are places where the two light waves arrived exactly out of step and cancelled out — light plus light making darkness.
You did it. You've built a working interferometer and seen light interfere.
Try this: make the rings move
Very gently tap the table, or breathe warm air across one arm of the interferometer, and watch the rings swim and shift. Each time a ring moves in by one, that light path changed by just half a wavelength — about 0.00027 mm. You're watching a measurement of distance far finer than any ruler.
What's next?
- It wouldn't align? → Align an interferometer has a dedicated, patient walkthrough.
- Understand what you saw => Interference and diffraction.
- Ready for holograms? → Your first hologram.