Check Your FRAME's Operational Readiness
In this tutorial, we will perform some checks to ensure that your FRAME is ready to be operated as a microscope. Along the way, we will use the FRAME's ImSwitch app and see some basic troubleshooting procedures we can run in ImSwitch if your FRAME behaves in way that you don't expect.
Ensure correct ImSwitch hardware configuration
Because ImSwitch is designed to be used with a variety of hardware configurations (which may involve different detectors, light sources, stages, etc.), ImSwitch needs to be given information about the hardware configuration of your machine. This is done by selecting one of the preinstalled hardware configuration files in ImSwitch.
If you purchased and received a machine directly from openUC2, then the correct hardware configuration file was already been set for you as part of openUC2's procedures for testing that your machine works. Here, we will find the name of the correct hardware configuration file for your machine.
First, open ImSwitch. Click on the settings icon in the upper-right corner of the page in order to open the settings menu, and click on the "ImSwitch Backend Settings" menu item:
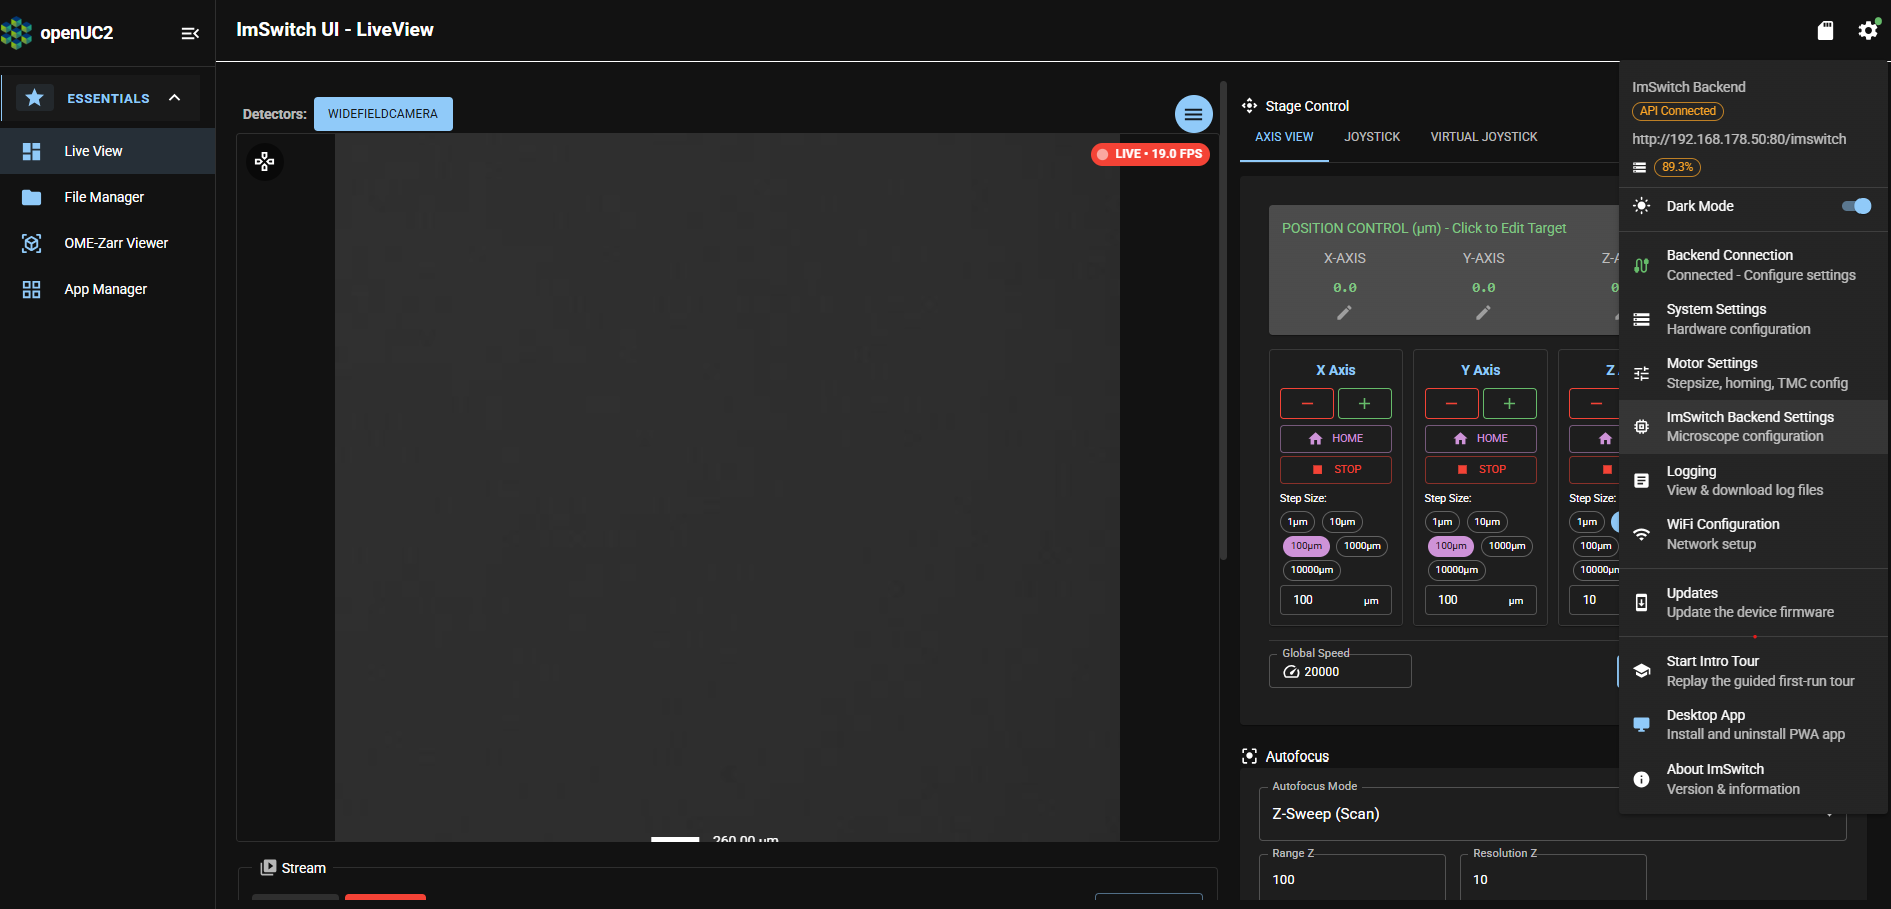
This will open a settings page which shows the name of the currently-selected hardware configuration file:
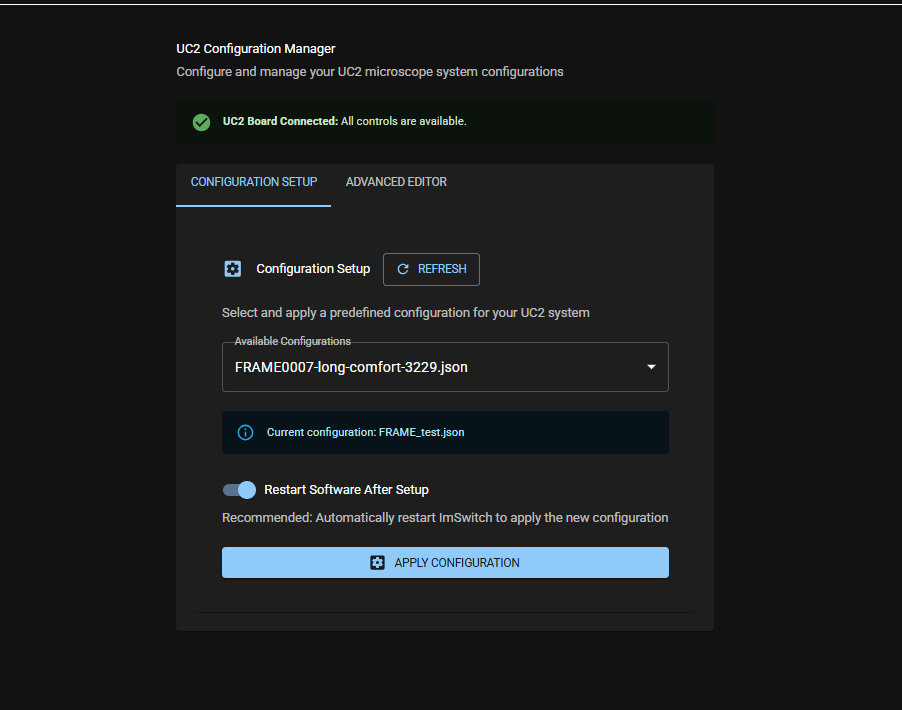
In the screenshot above, you can see that the current configuration is called FRAME0007-long-comfort-3229. The syntax of the machine specific hardware configuration file consists the serial number FRAME0007 and the the RPI machine name long-comfort-3229.
The name of the current hardware configuration file should match what openUC2 customer support communicated to you when the FRAME machine was delivered to you, so you shouldn't need to change anything here.
If you need to change the hardware configuration file, please refer to our day-2 tutorial.
Homing
To home, please, refer to the following instructions on Homing.
View Pixel Calibration
The specific hardware configuration of your machine consists of cameras (e.g. a WideField camera in the Brightfield optical module) and 1-2 objectives. For each given optical configuration (e.g. WideField Camera + Objective in Position 1) a Pixel Size calibration was performed as part of openUC2 factory tests.
To see the current calibration you have two options. Option 1: In the live view App on the right handside scroll down to where objectives can be switched. For the active objective all parameters including pixel calibration are displayed. See an example for 2 objectives below.
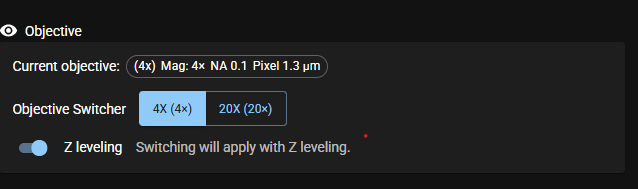
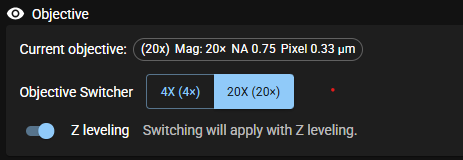
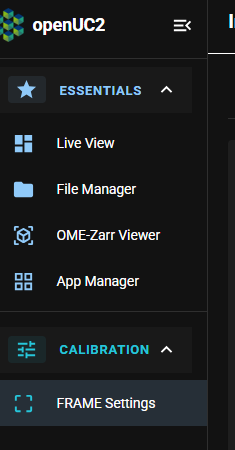
Option 2: In the App navigation sidebar on the left go to the App FRAME Settings (how to enable this app see ). Choose the tab Objective Controller. The settings for both objectives including Pixel Size are displayed at the top.
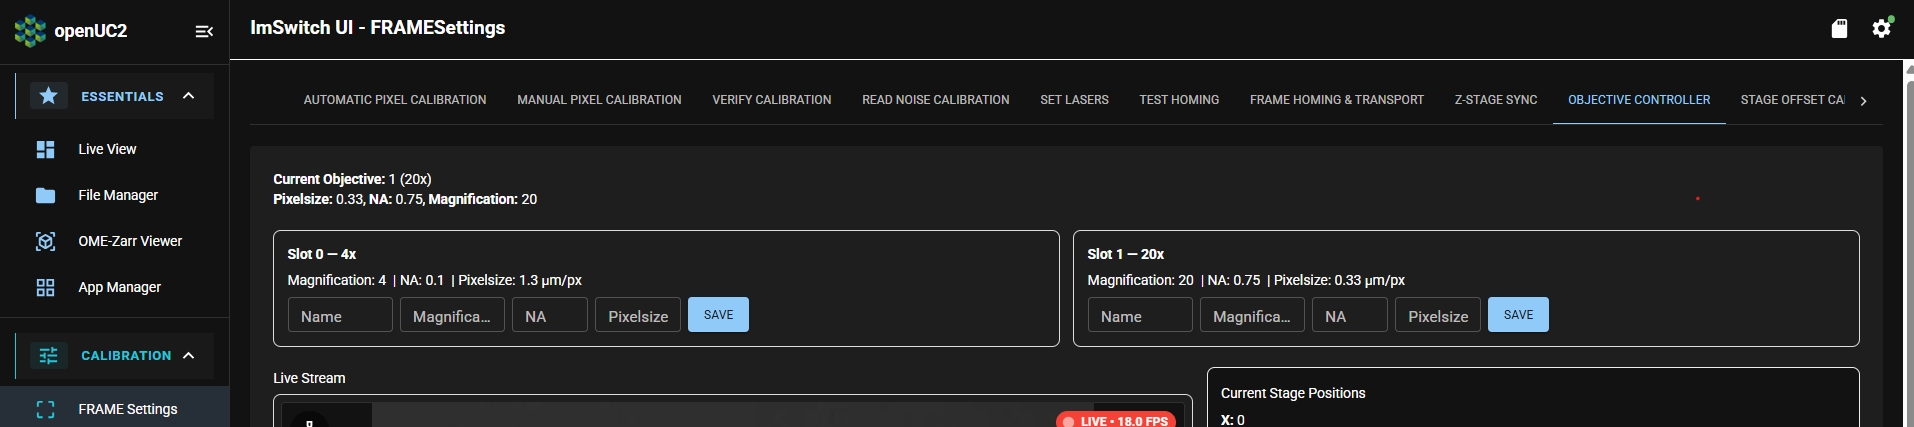
For information on how to perform and verify pixel size calibration on your machine, please, go to Pixel Calibration!
View stored Objective Information and Calibration
In the App sidebar menu on the left go to the App FRAME Settings. Choose the tab Objective Controller. At the very top you will see information for both objectives and also which is the current objective.
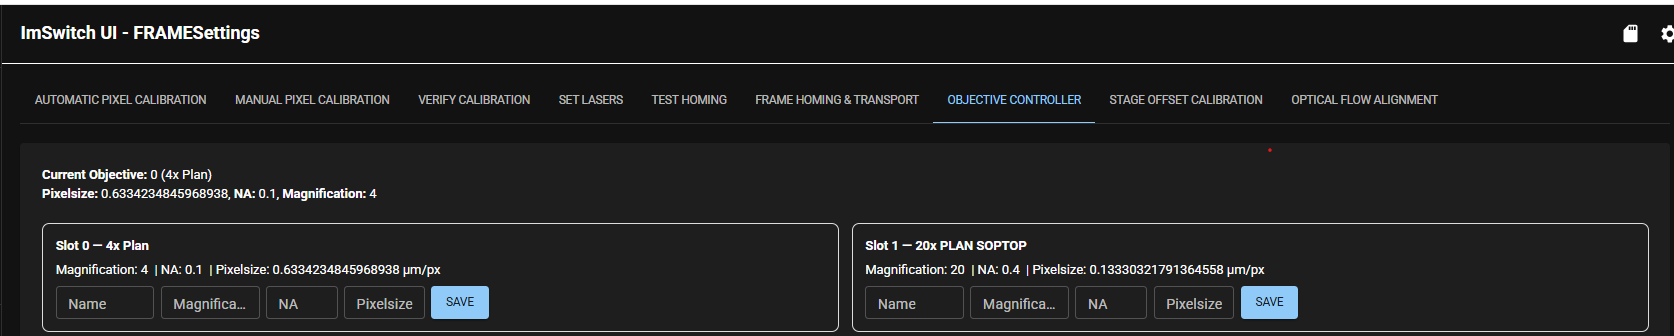
Now scroll to the bottom (ignore the rest). You will see stored calibration values for A-Axis and Z-Axis for both objective positions. Z determines the focus. The A-Axis value moves the objective holder and thus both objectives into correct position.
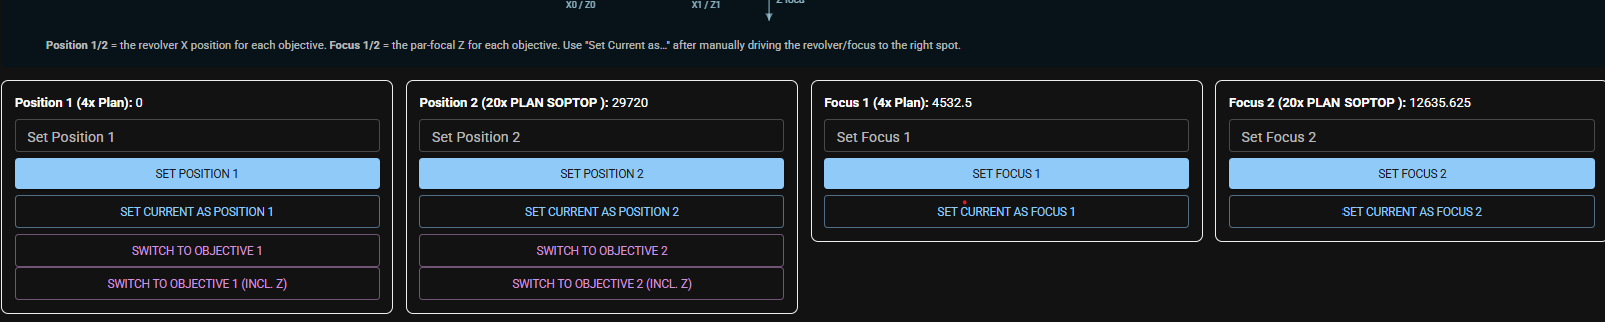
For information on how to perform objective calibration on your machine, please, refer to Objective Calibration!
Axis Backlash - good to know
When you move e.g. 100µm in the positive direction of the axis and then move 100µm back in the negative direction there will be a small offset (a few µm), which is called backlash. It is a result of the tolerances of all the mechanical parts of this axis.
The Backlash should be well below 10µm for each axis.
For information on how to (re)check axis backlash on your machine, please, go to Axis Backlash.
View Stage Calibration
To view and verify stage calibration, please, refer to Calibrate stage.
What's next
Now that we've determined that your FRAME is ready for imaging operations, we'll save images of your first sample!